BTS CREATIVEMORNINGS POSTER DESIGN

9EBF483E-7A5B-4EB2-9CB1-58060E3E546A.jpg

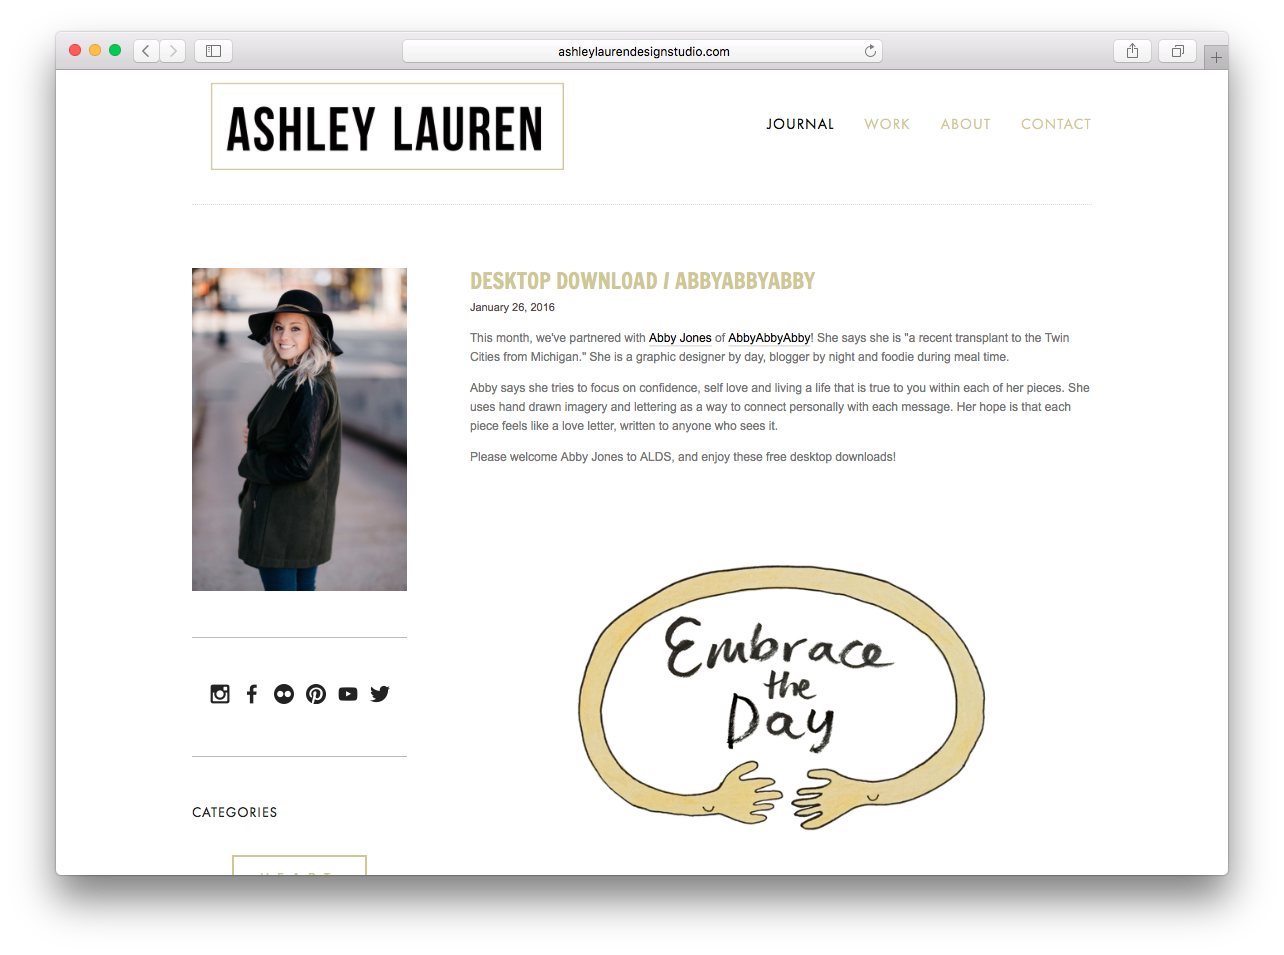
During the early summer of 2019 I was given the opportunity to design for my local chapter of CreativeMornings. What a freaking treat that was! This is an organization I love because it is an incredible source of inspiration and community for those who are creative, which is everyone, because truly, everyone is creative in their own right!

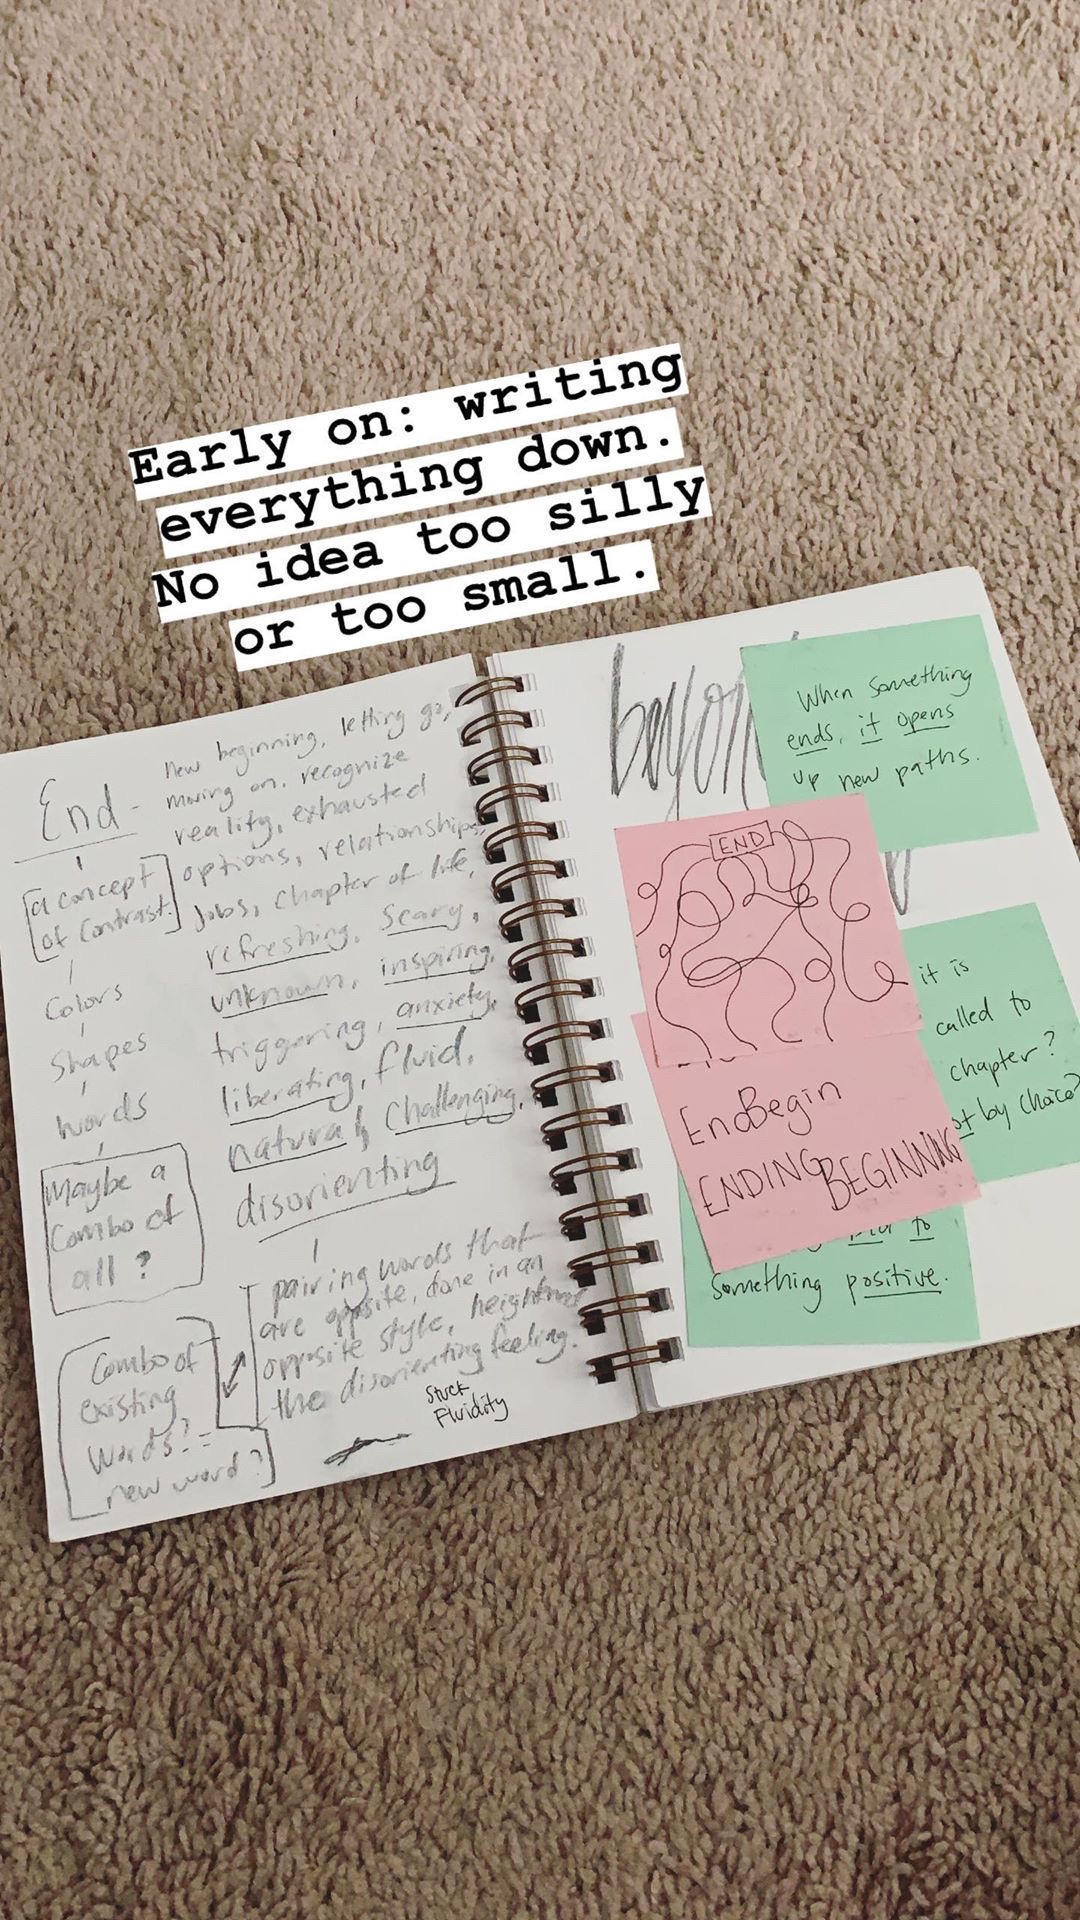
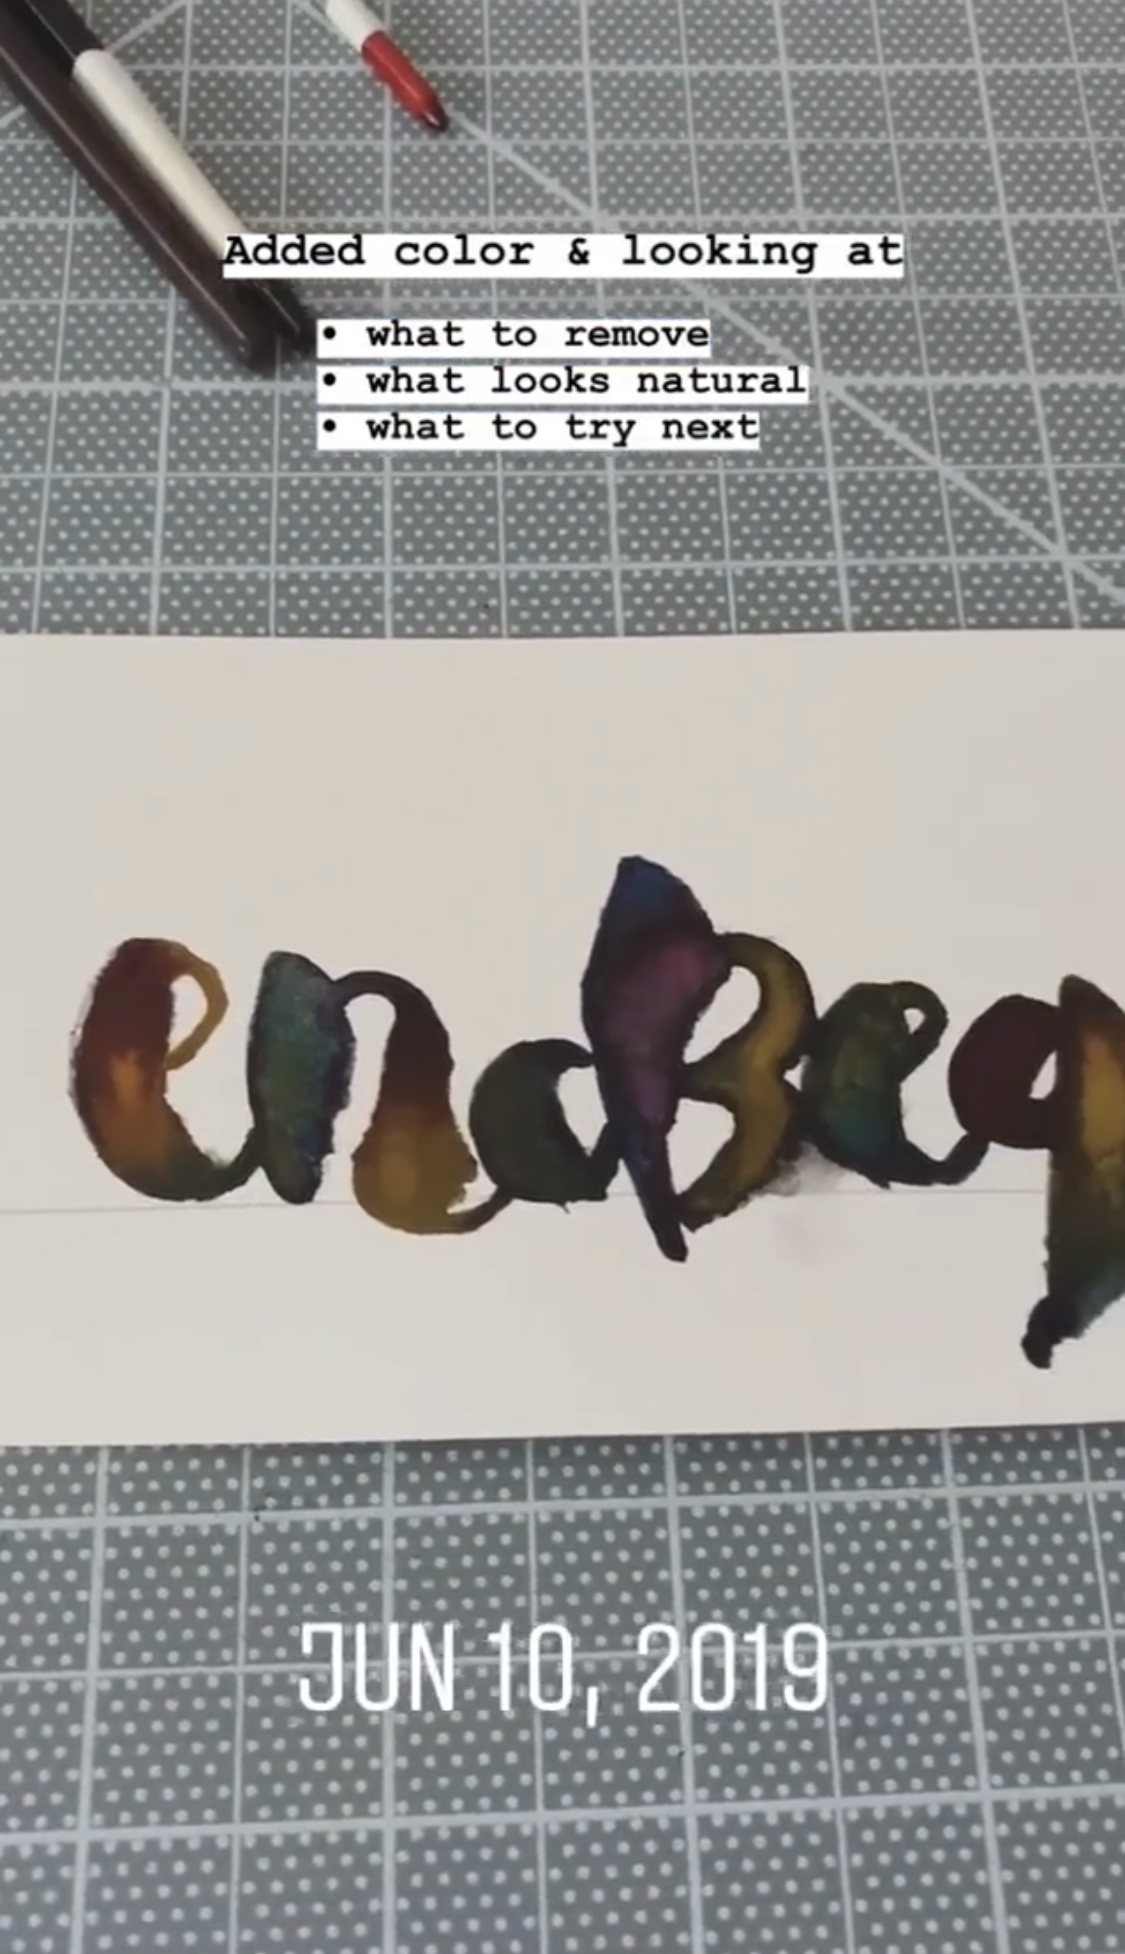
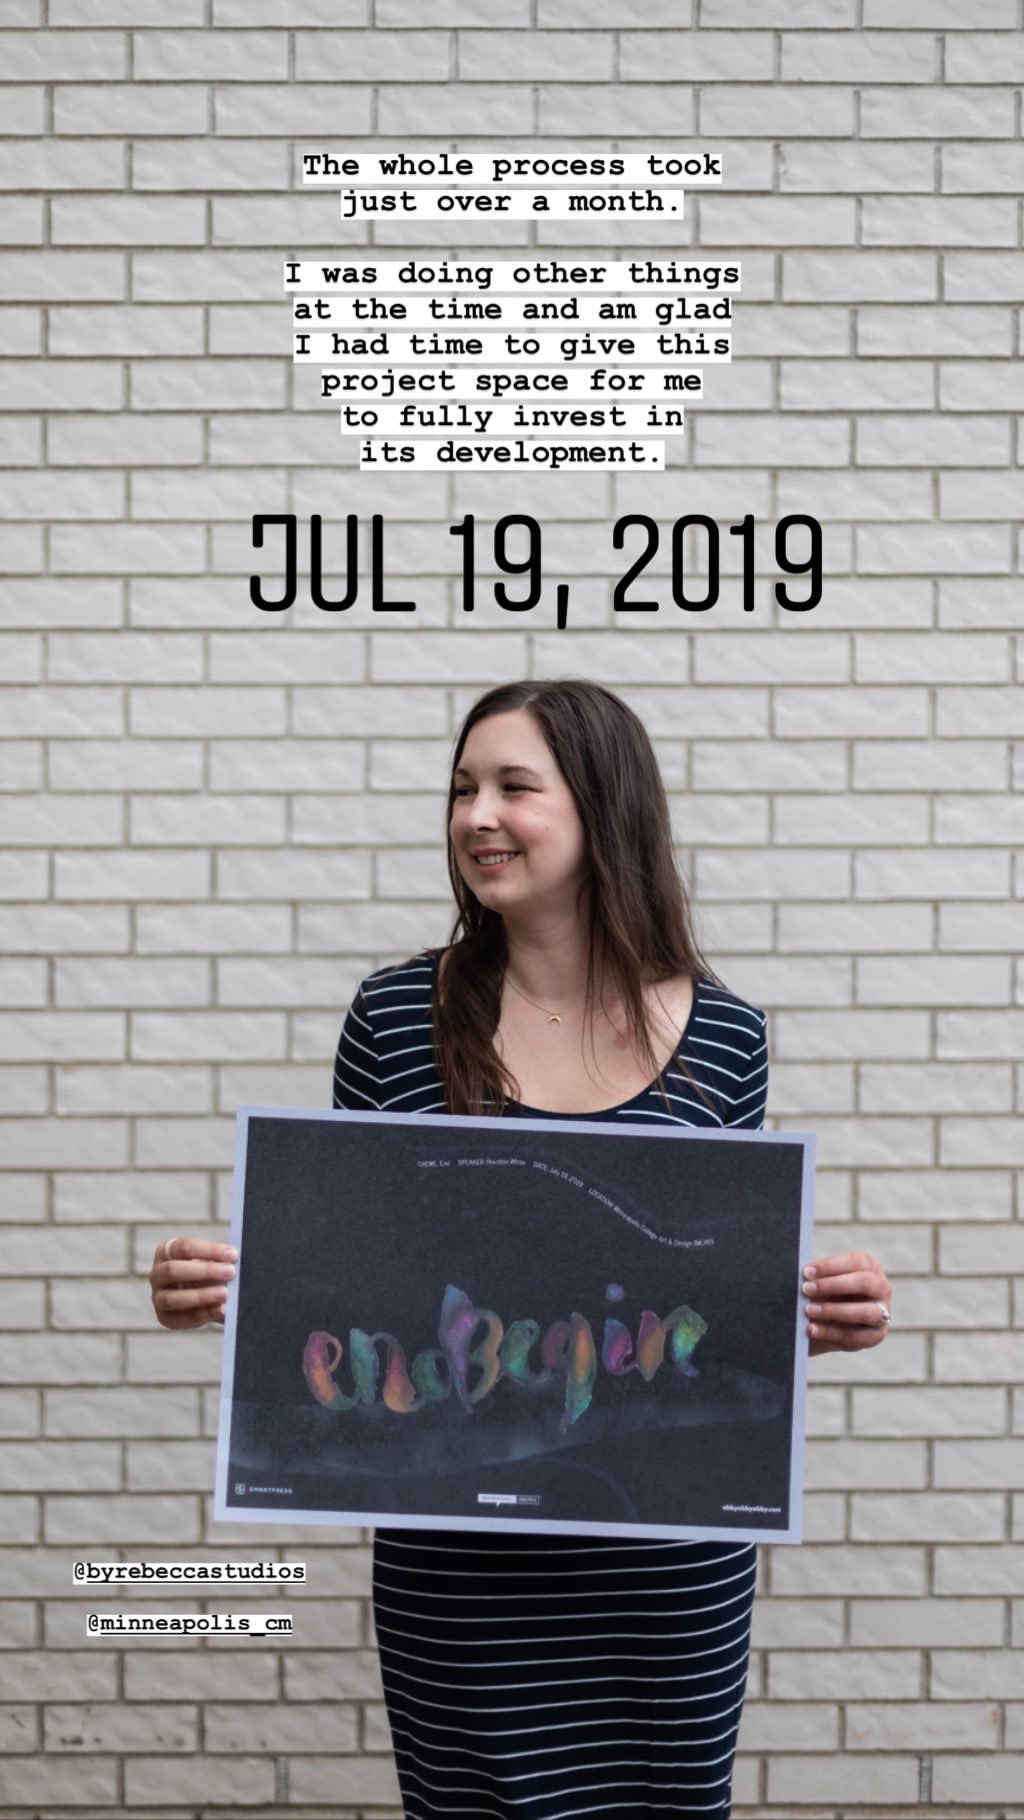
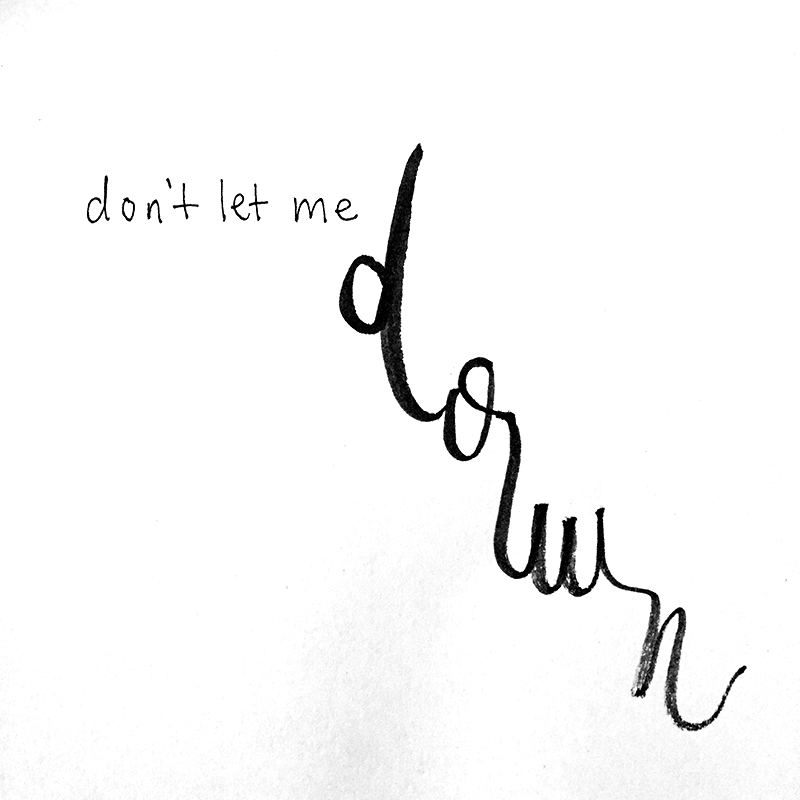
During this time I was in a bit of a life transition—navigating the space between being laid off from my job of over three years, doing freelance work, and looking for the next right fit in my career. This project came at the perfect time because of the theme that was set for July (every CreativeMornings talk is centered around a theme) the theme for July was ‘End’.

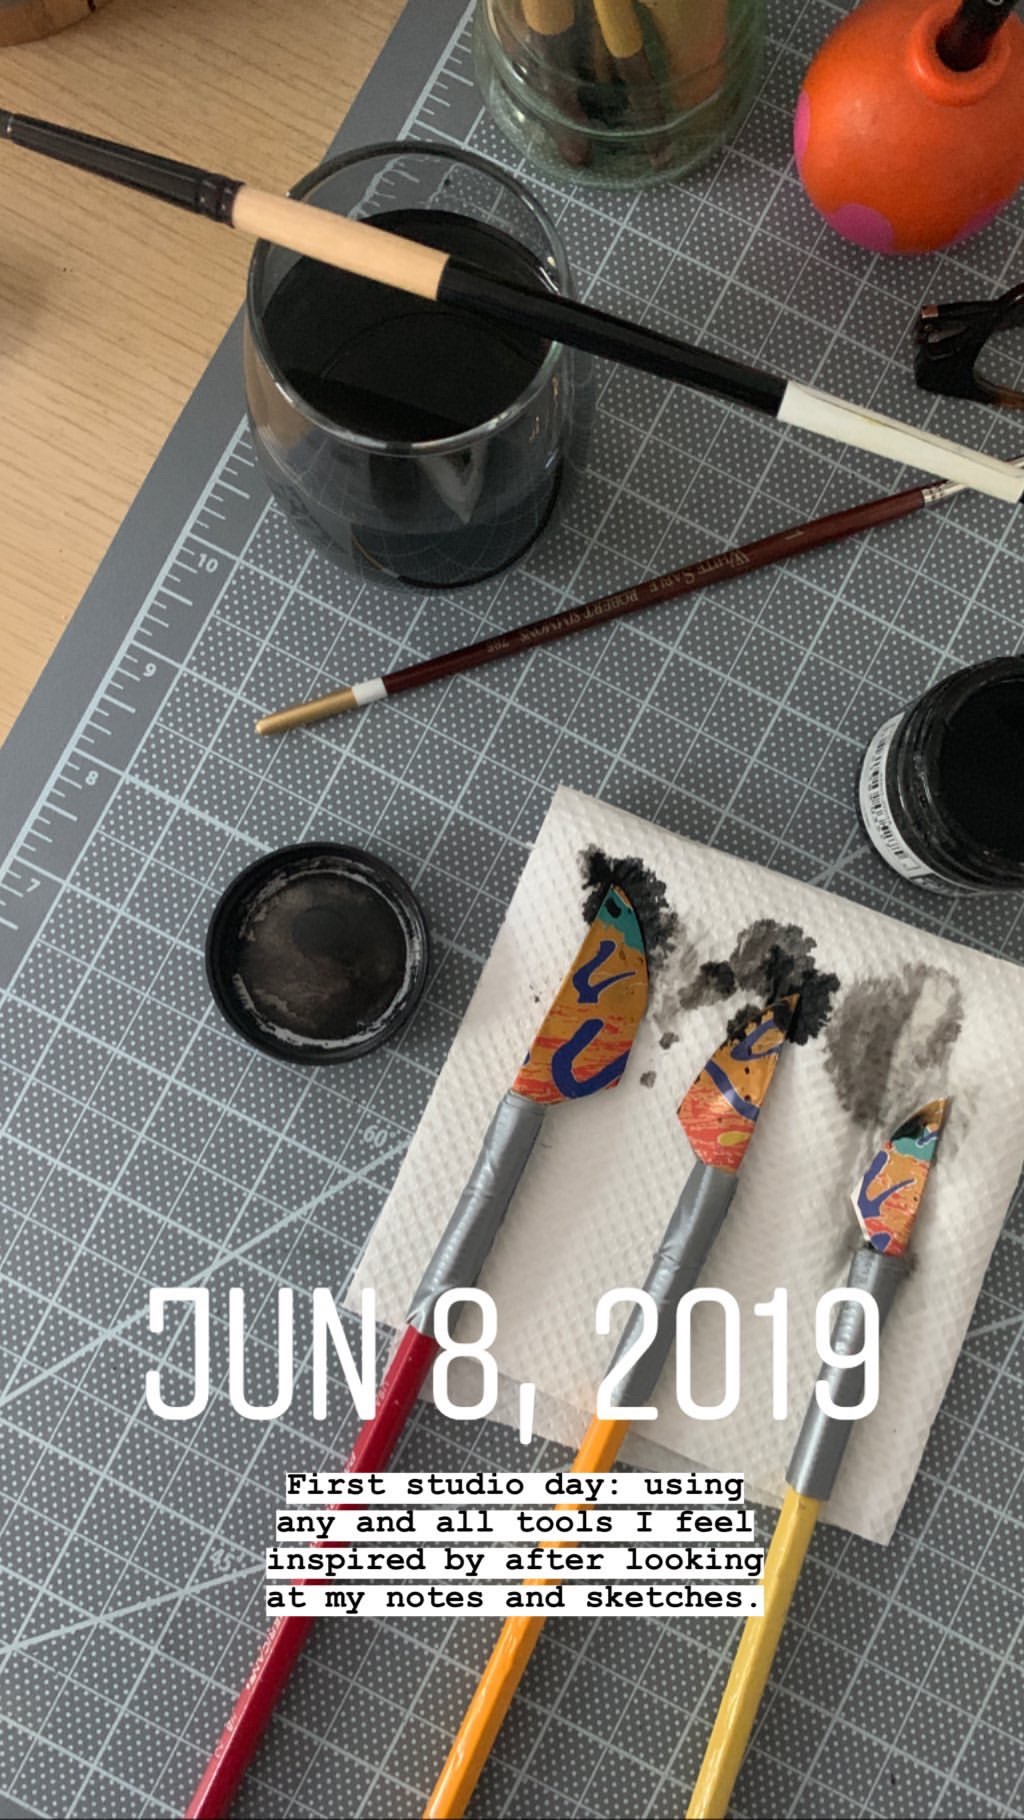
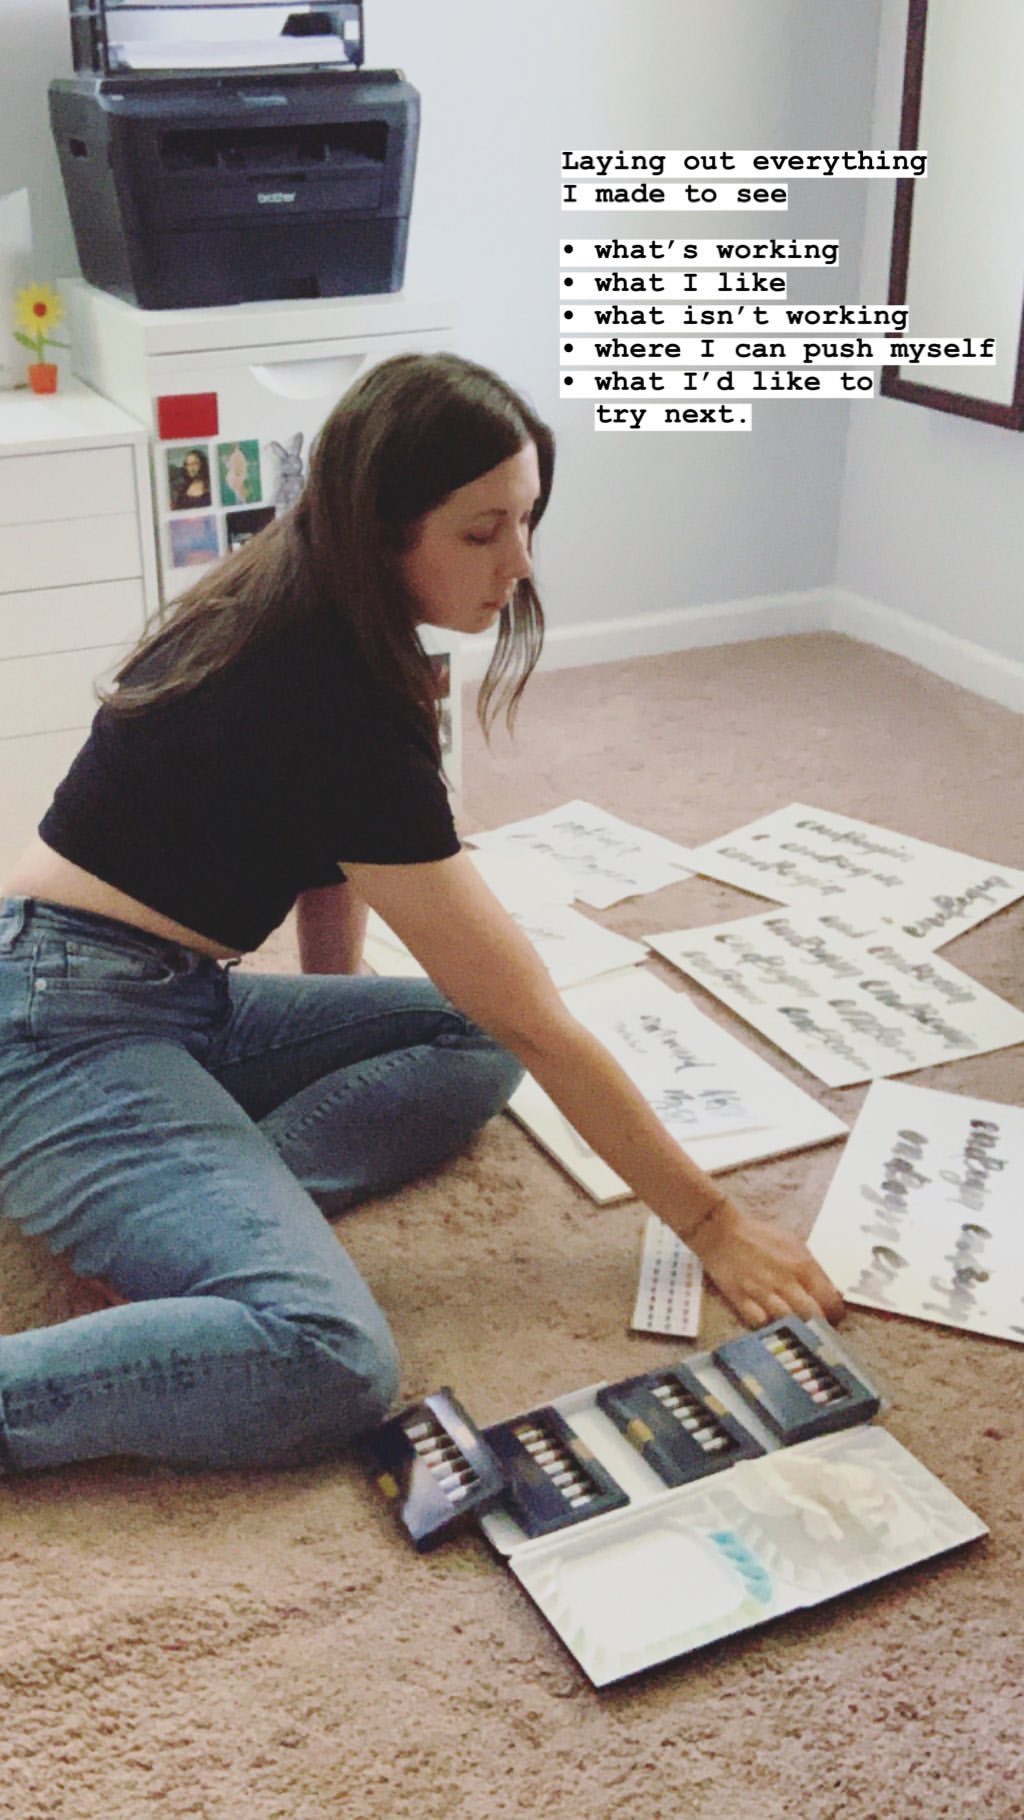
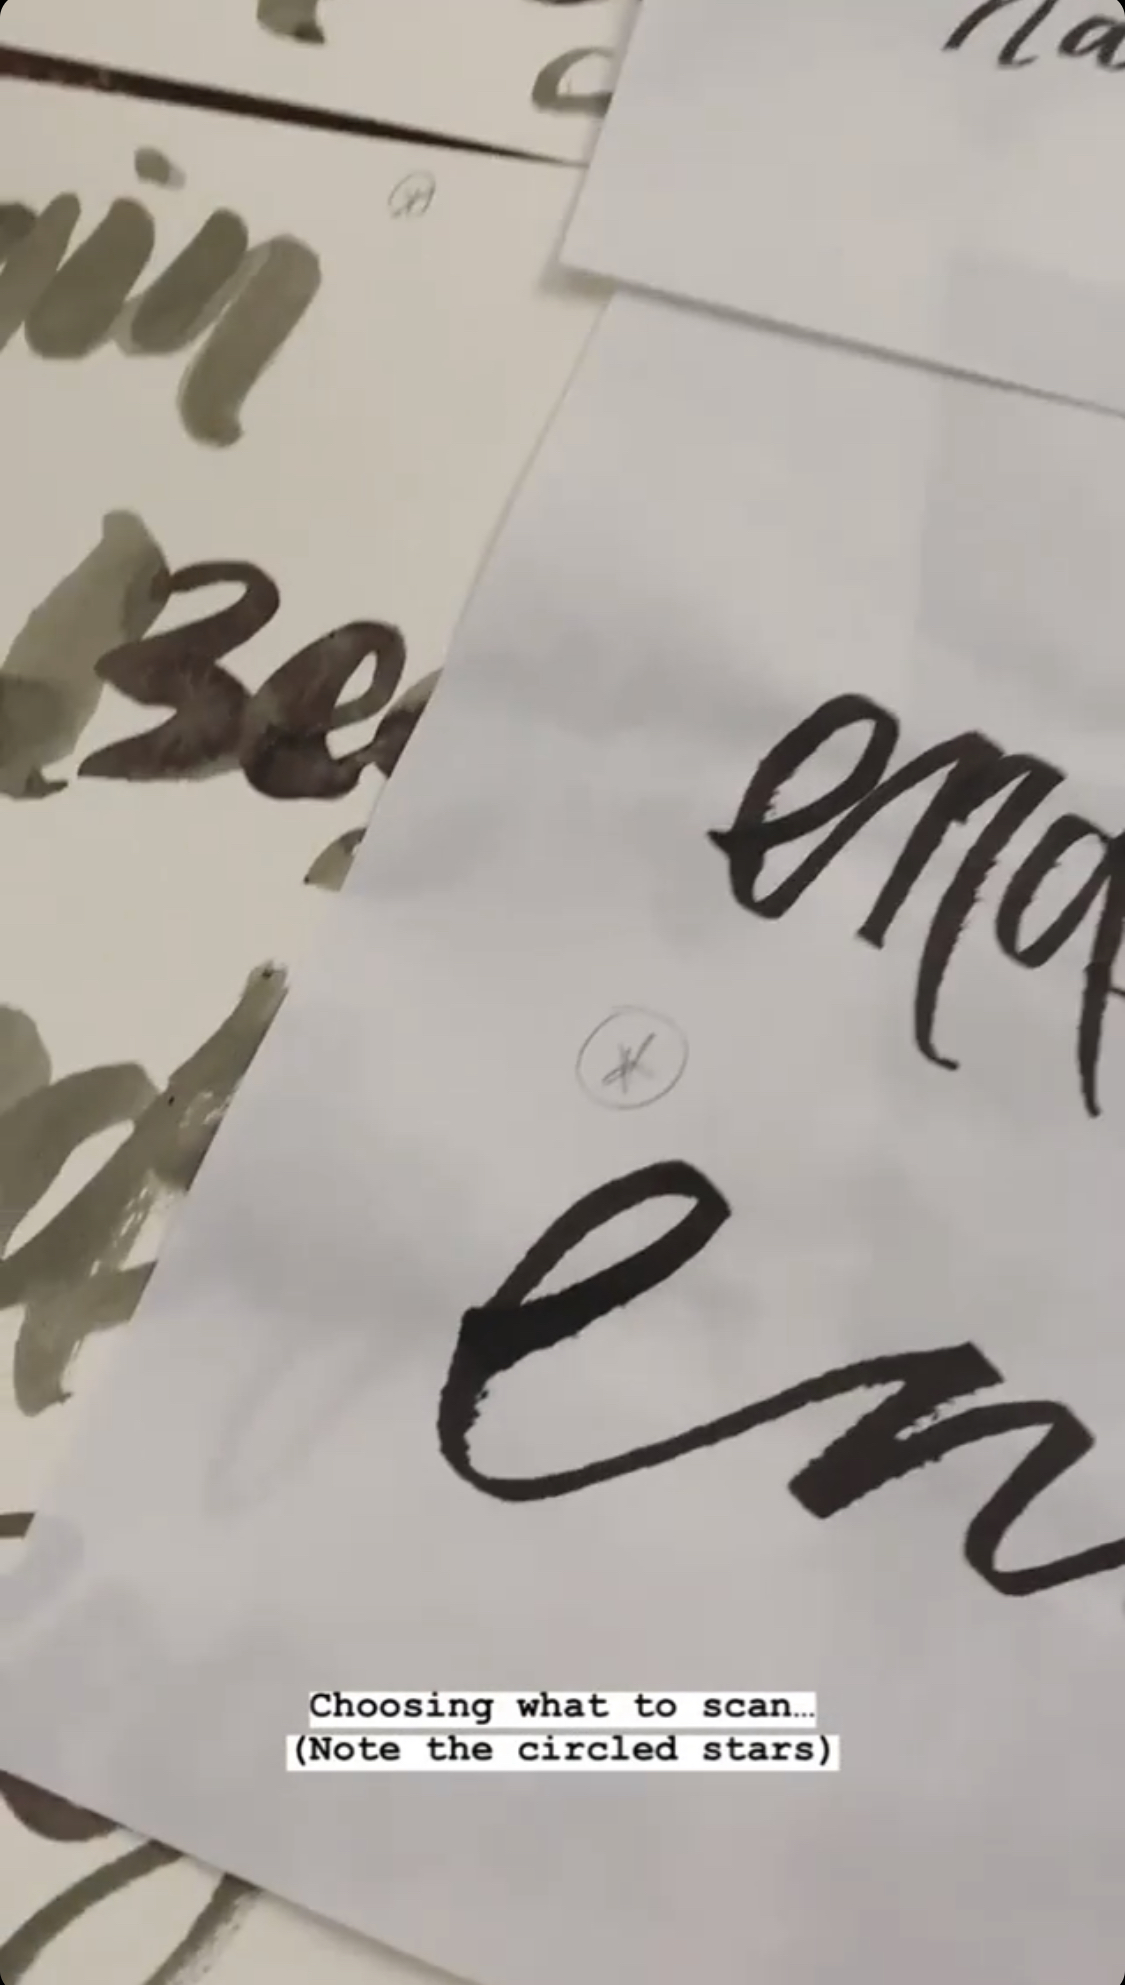
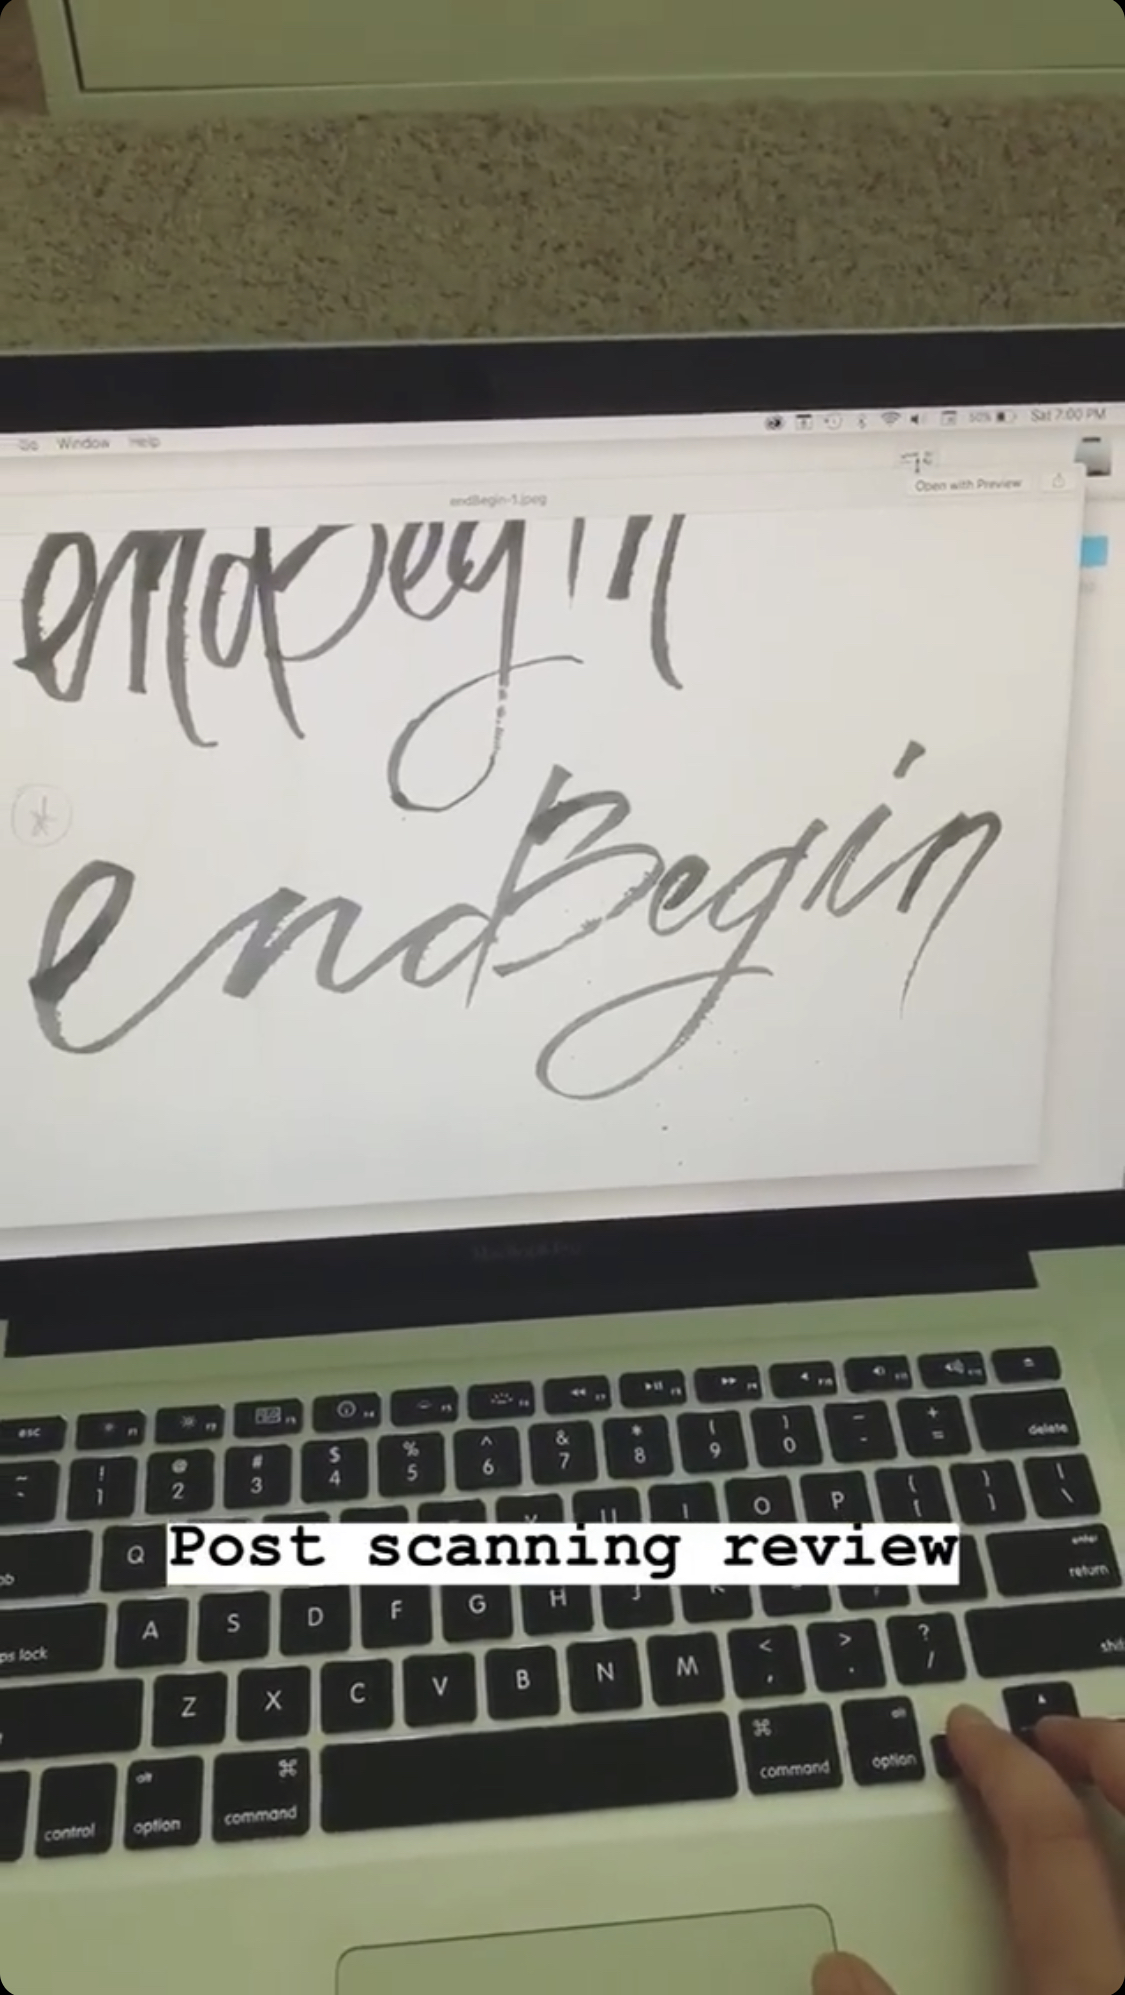
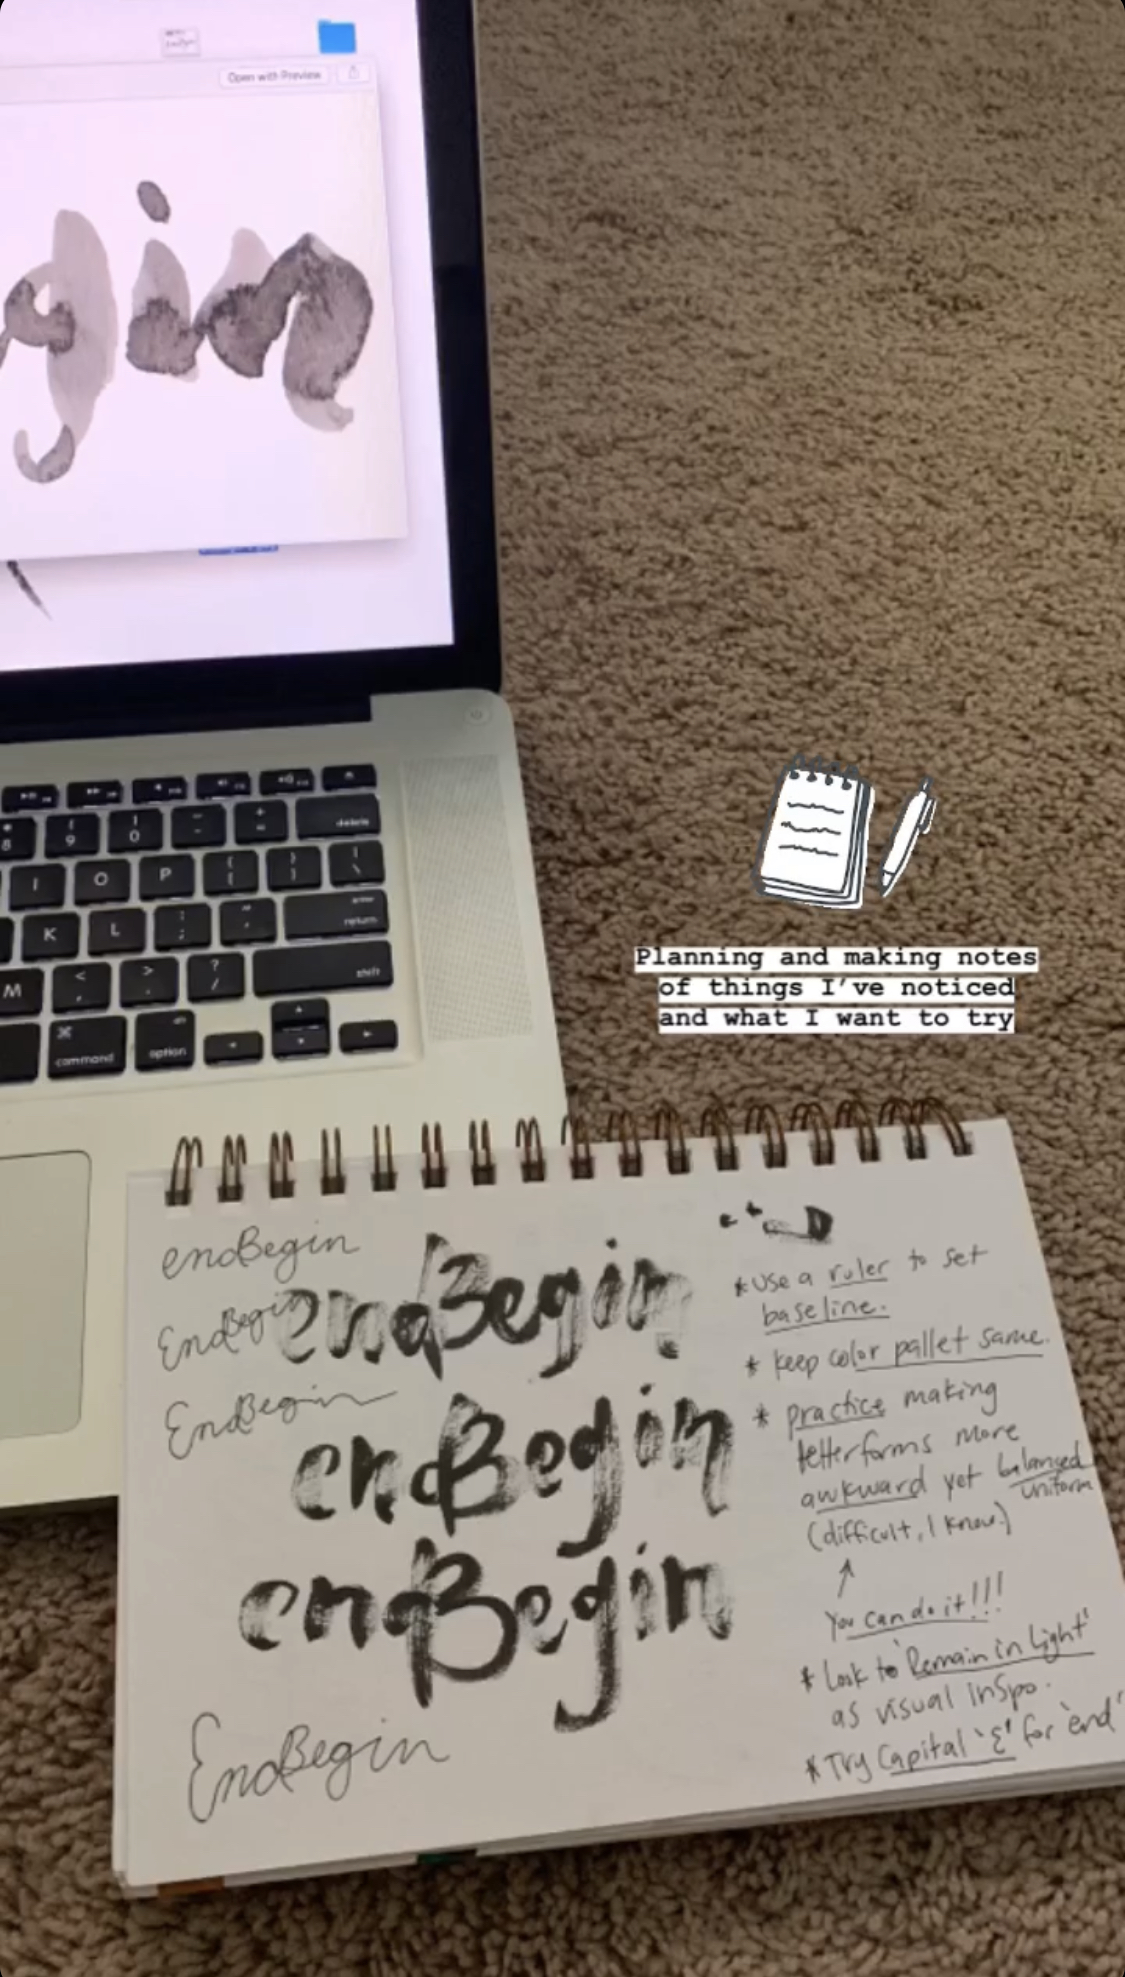
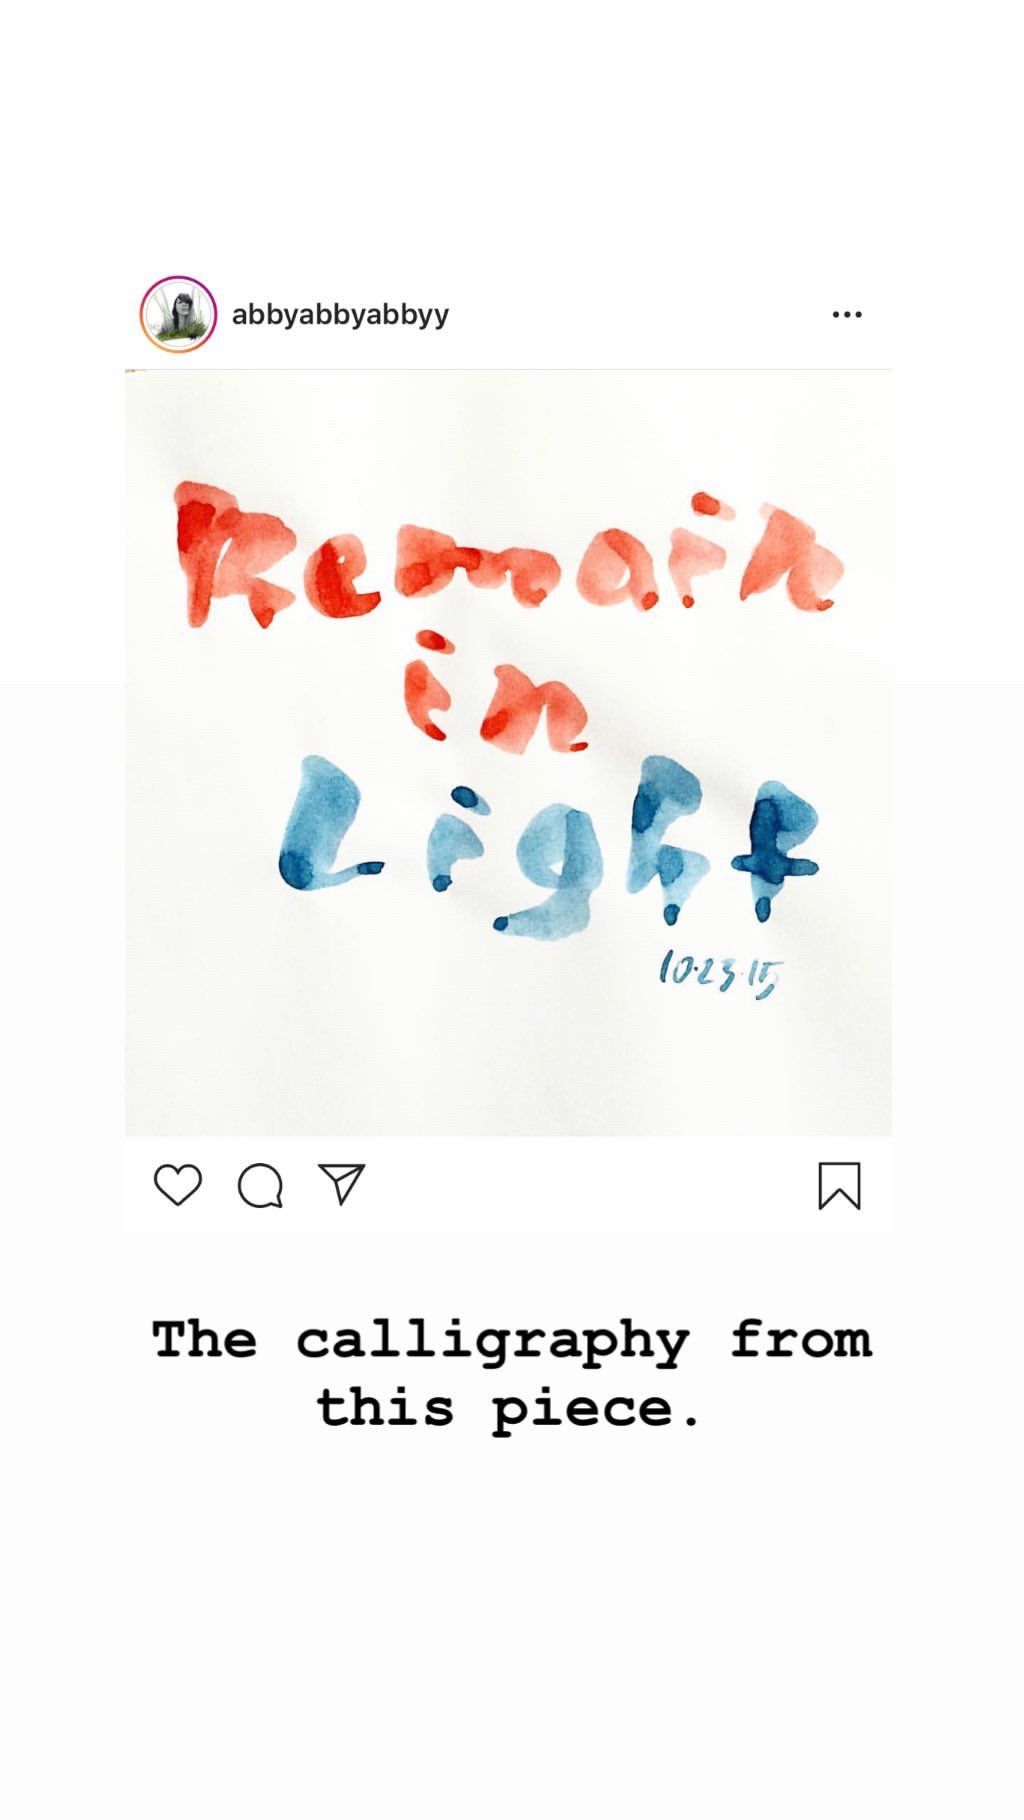
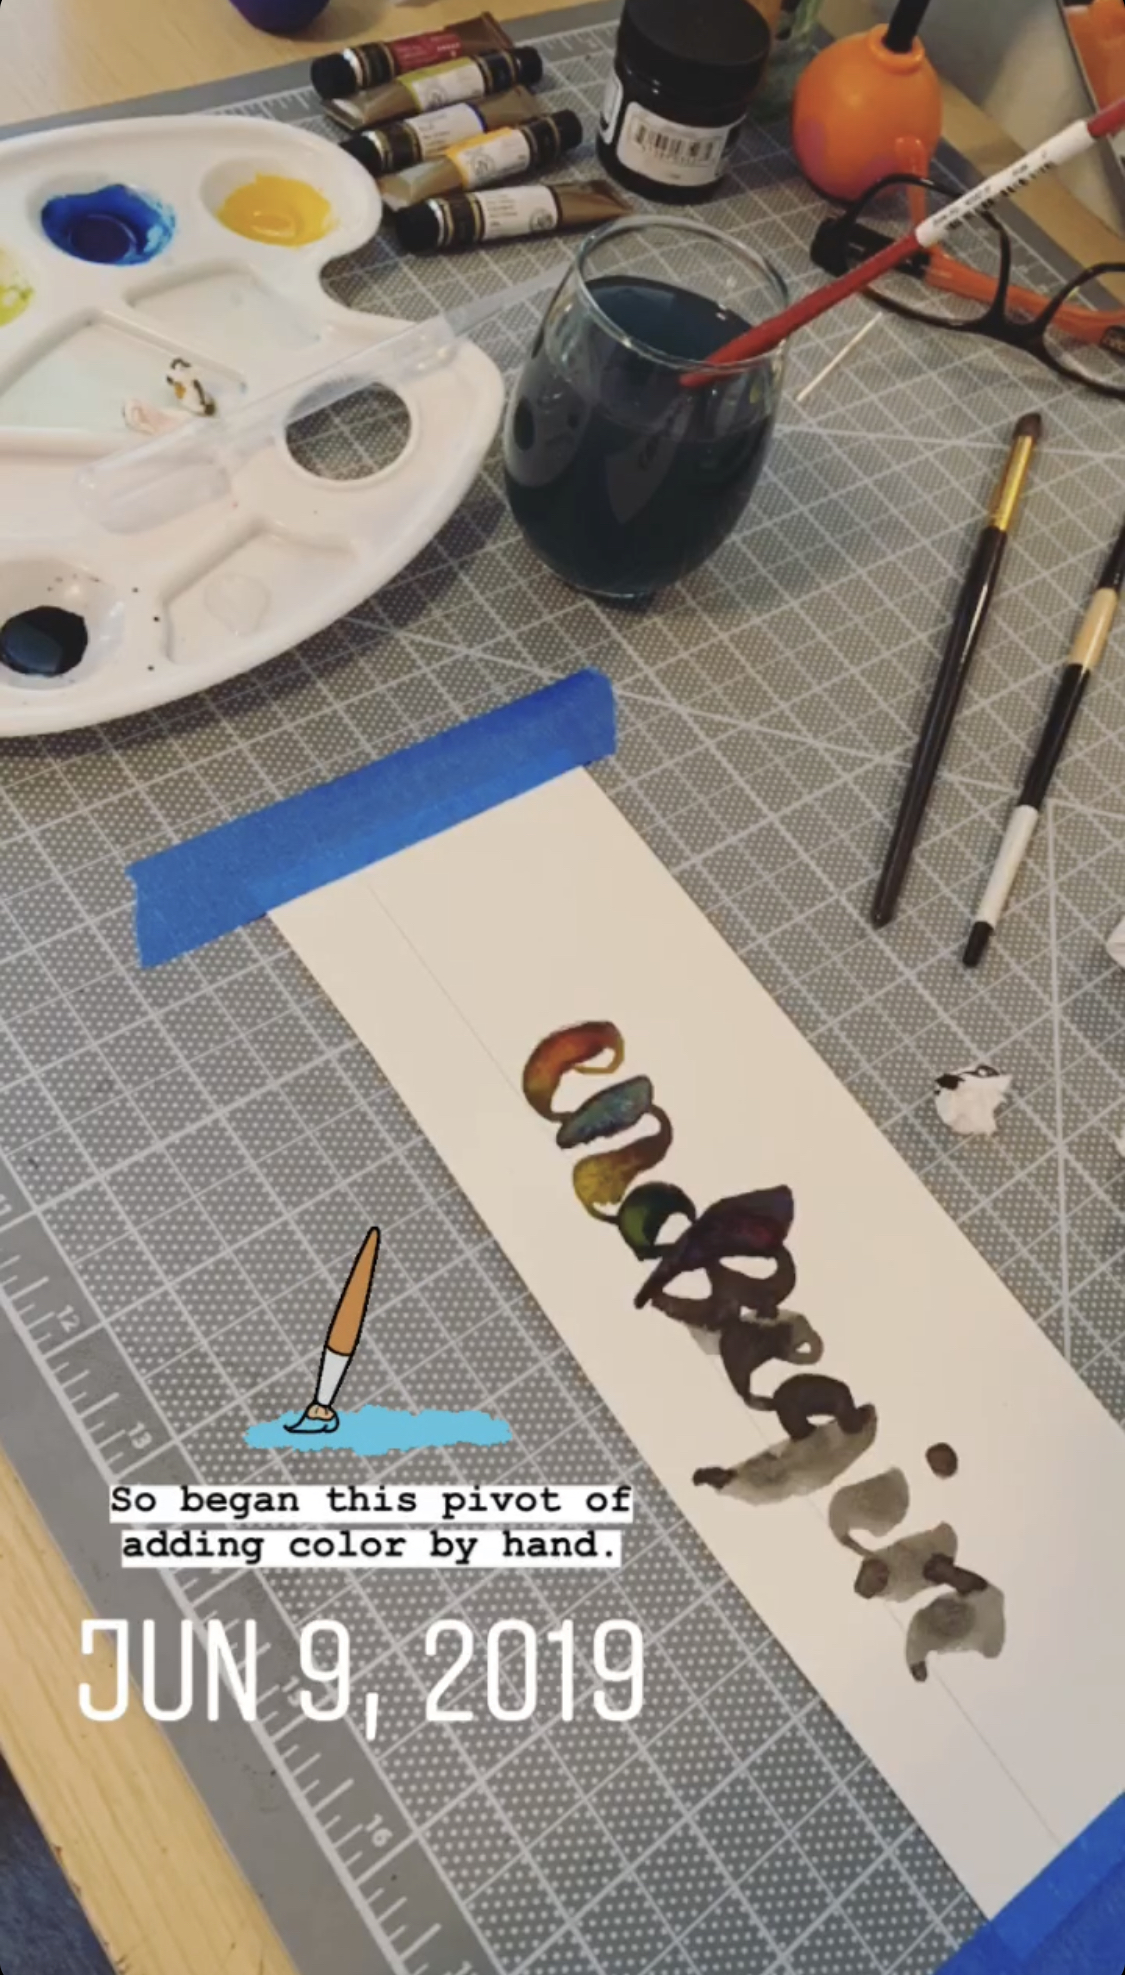
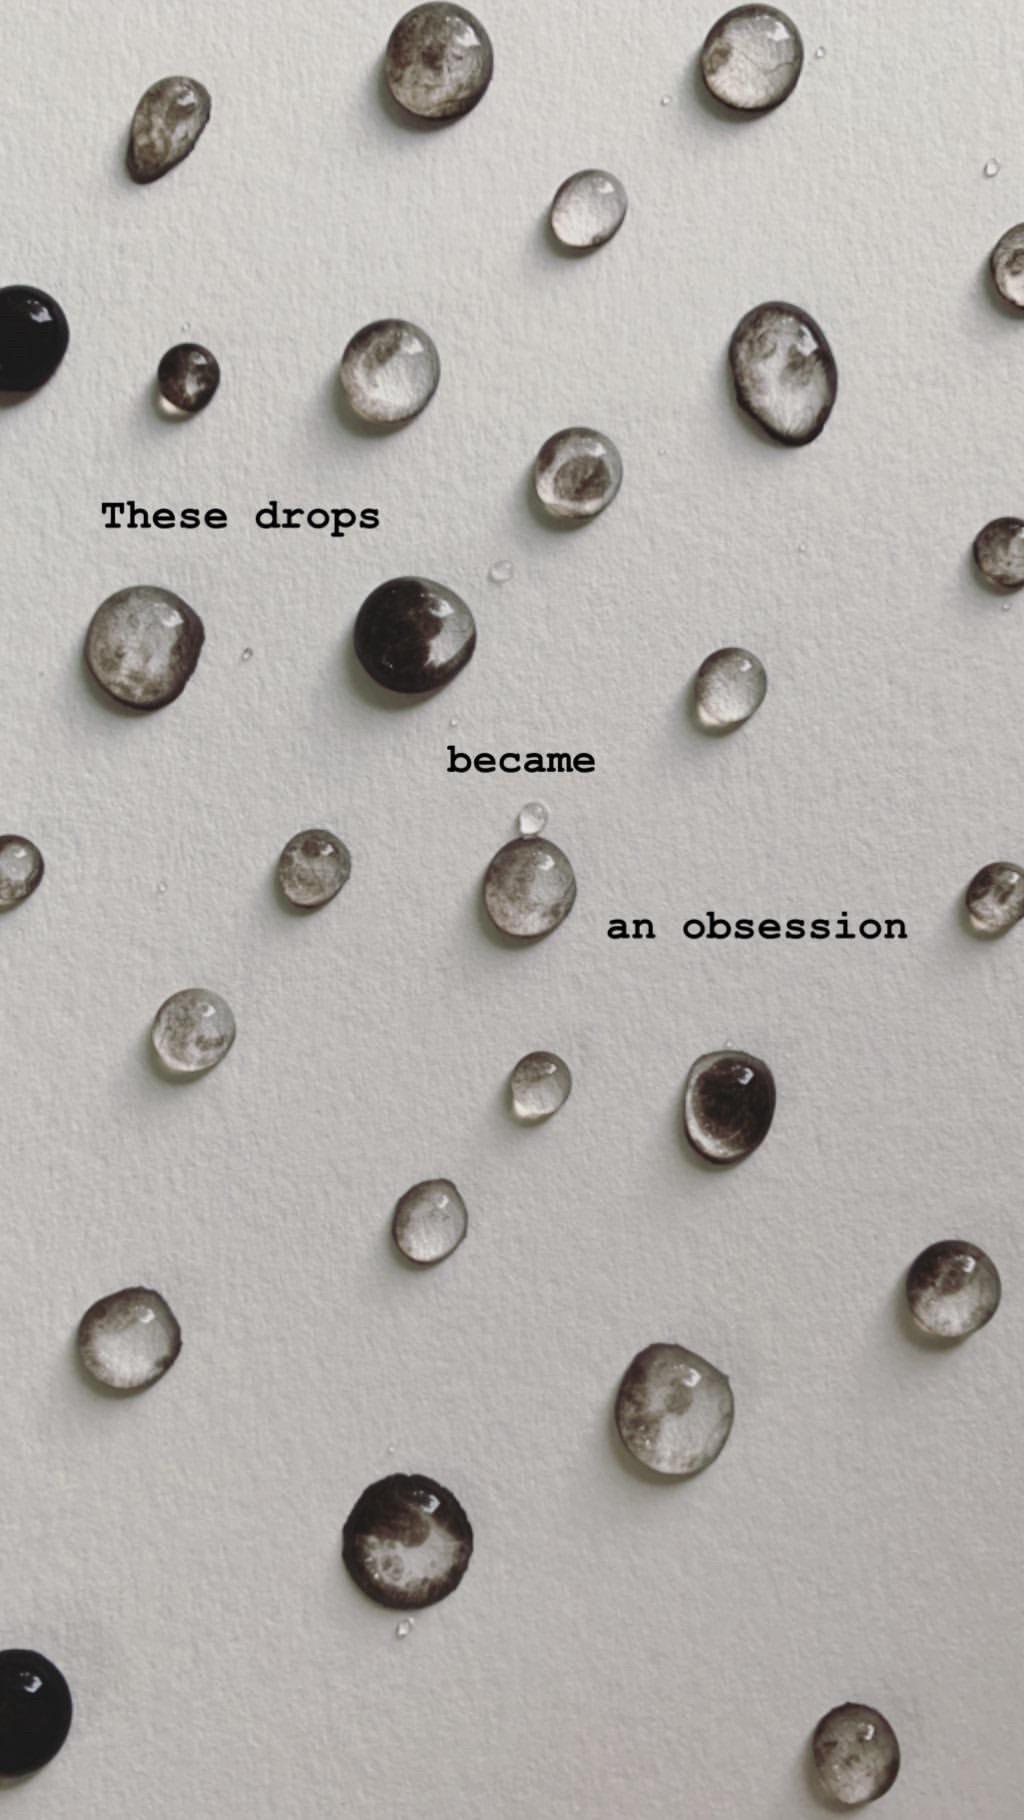
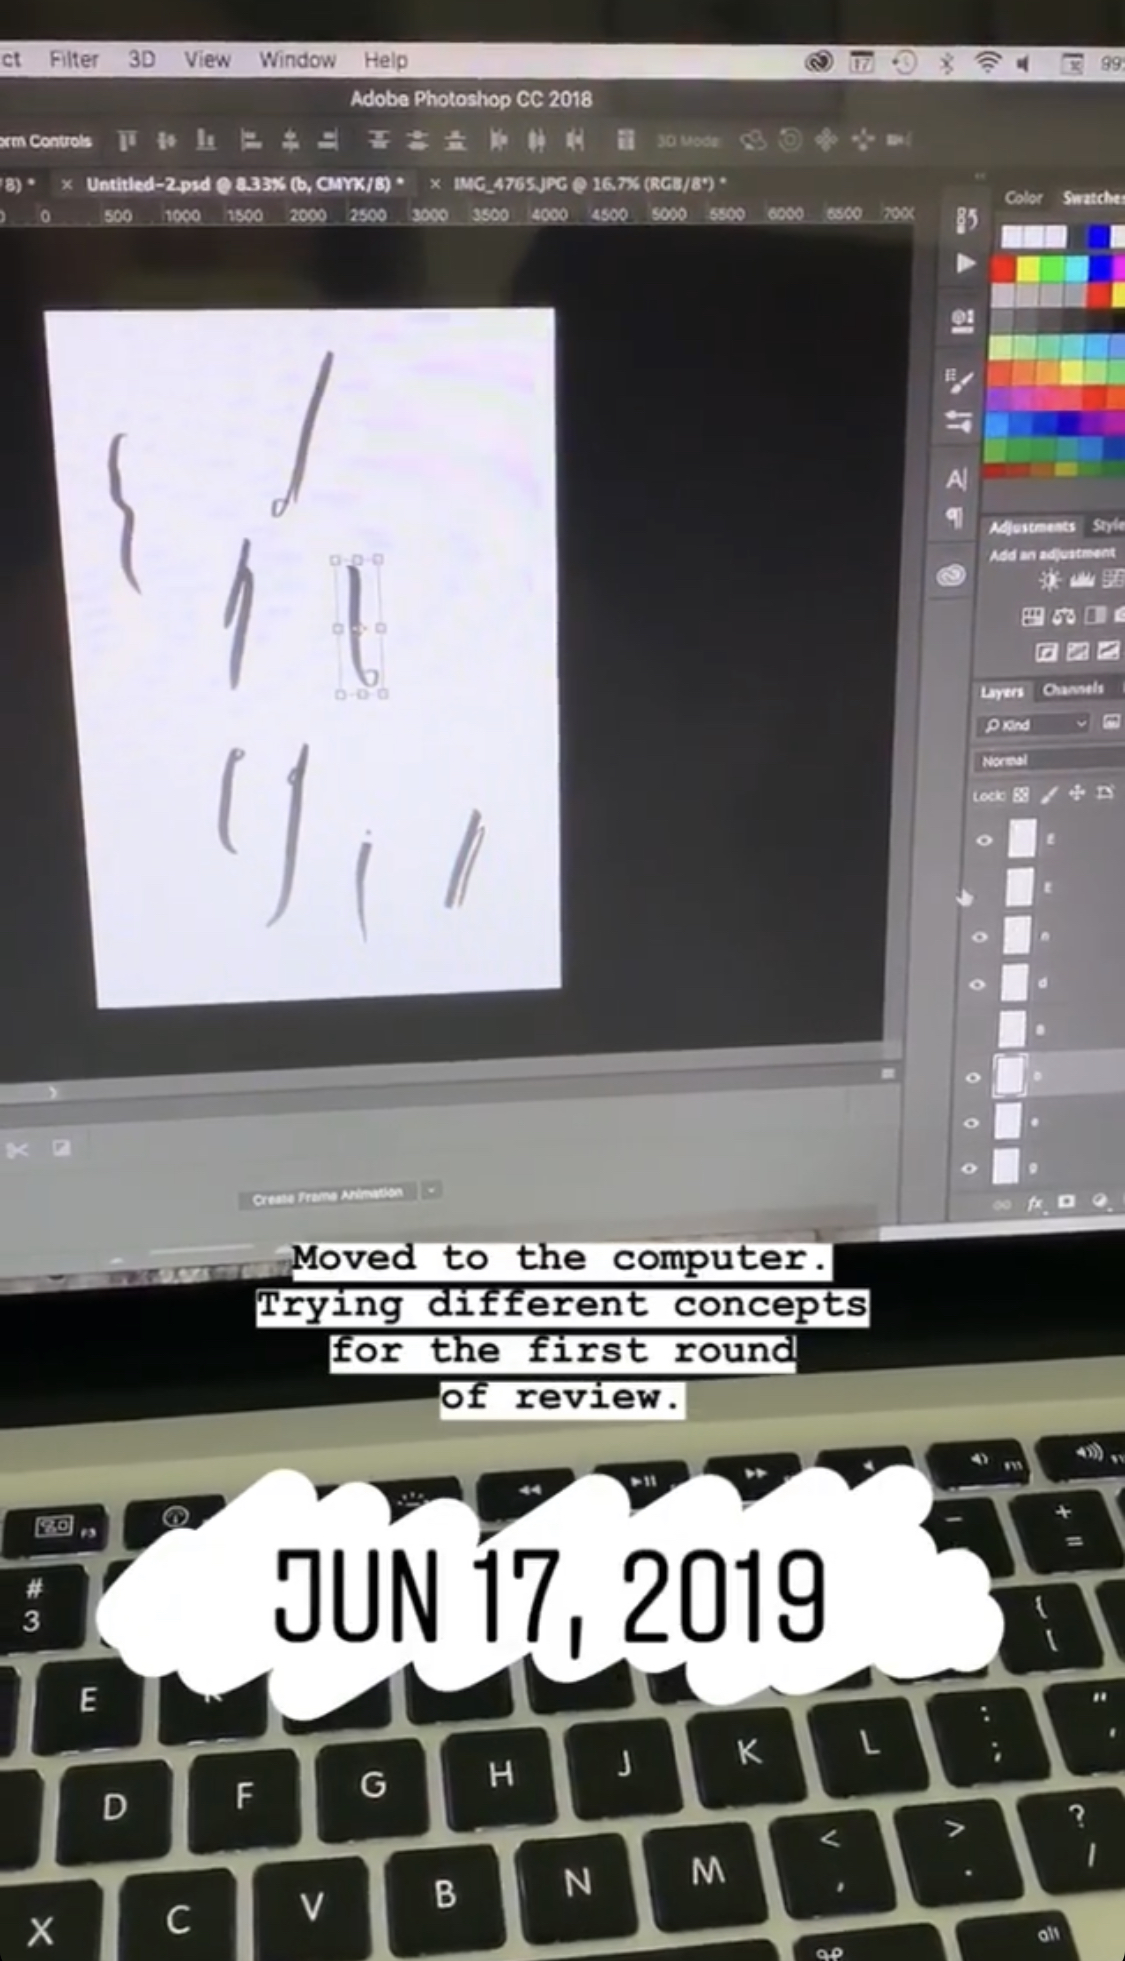
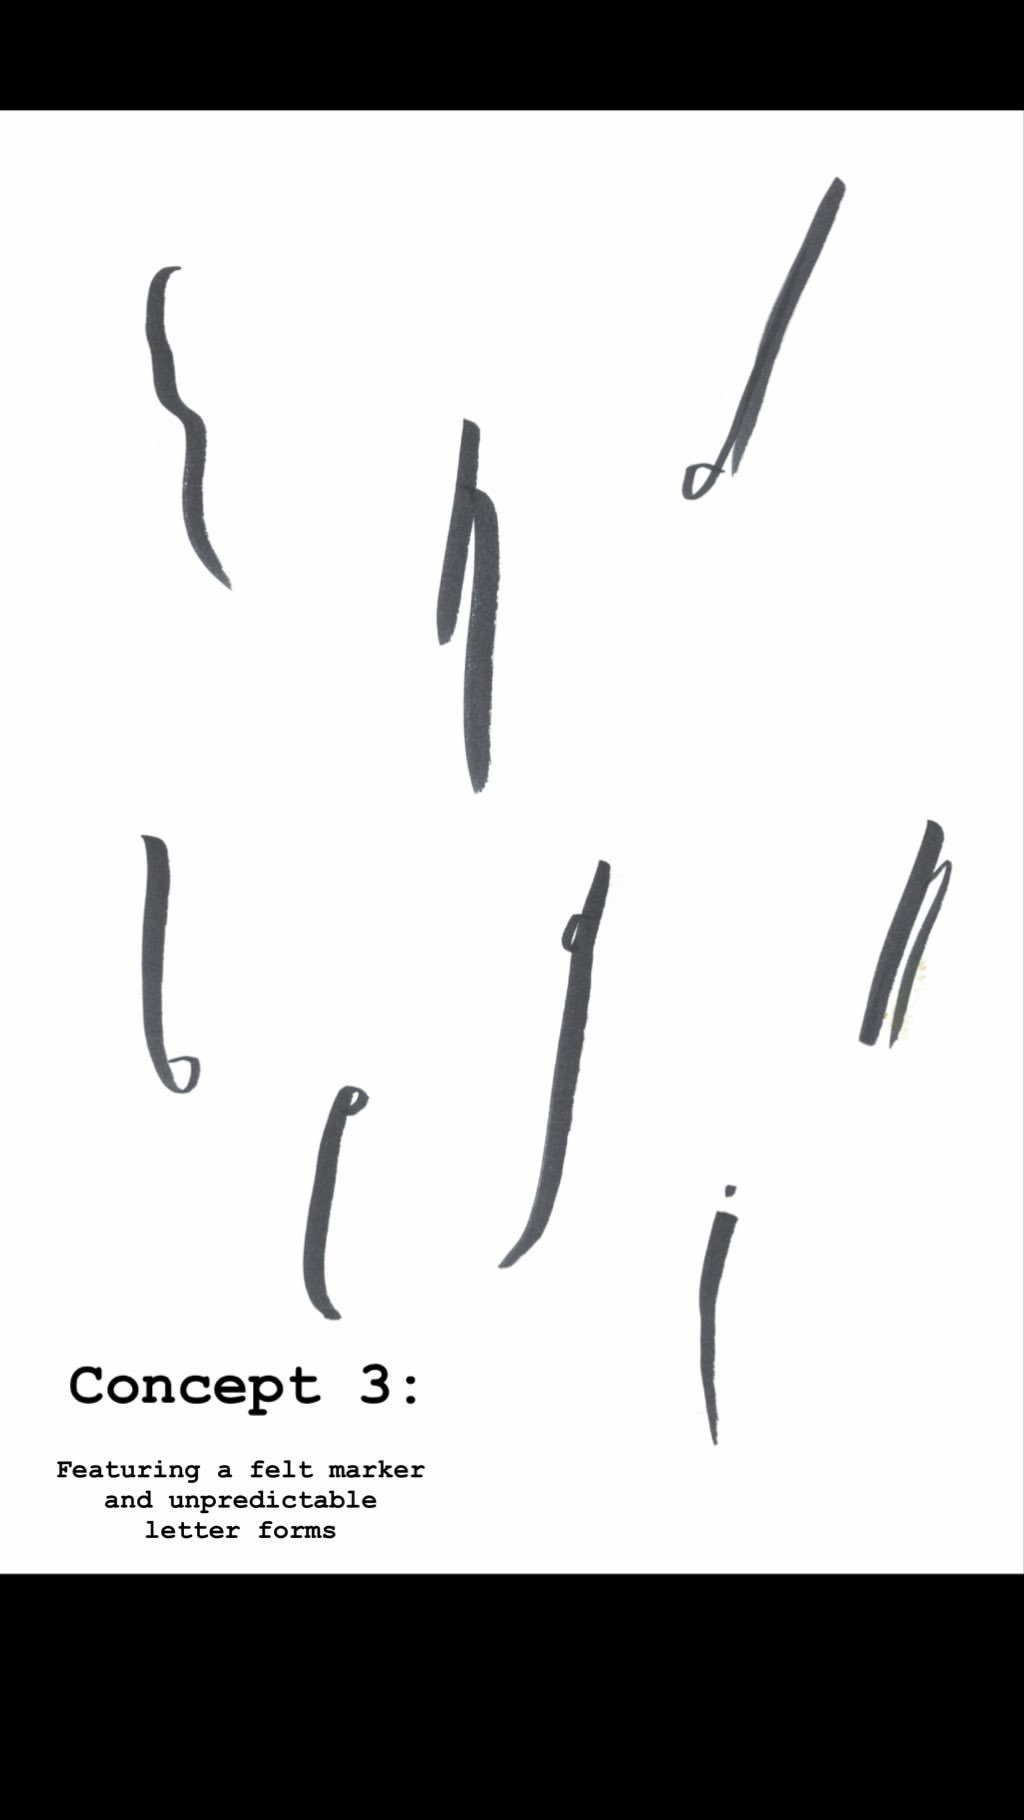
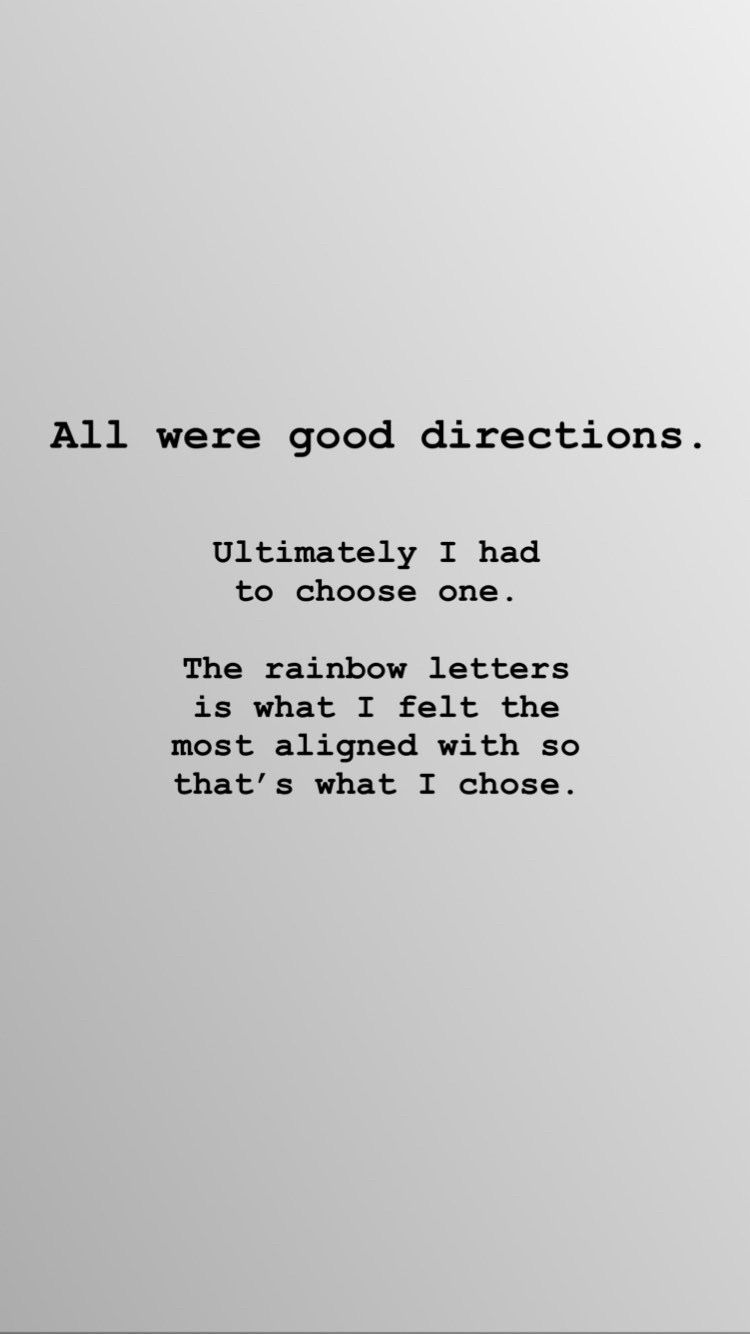
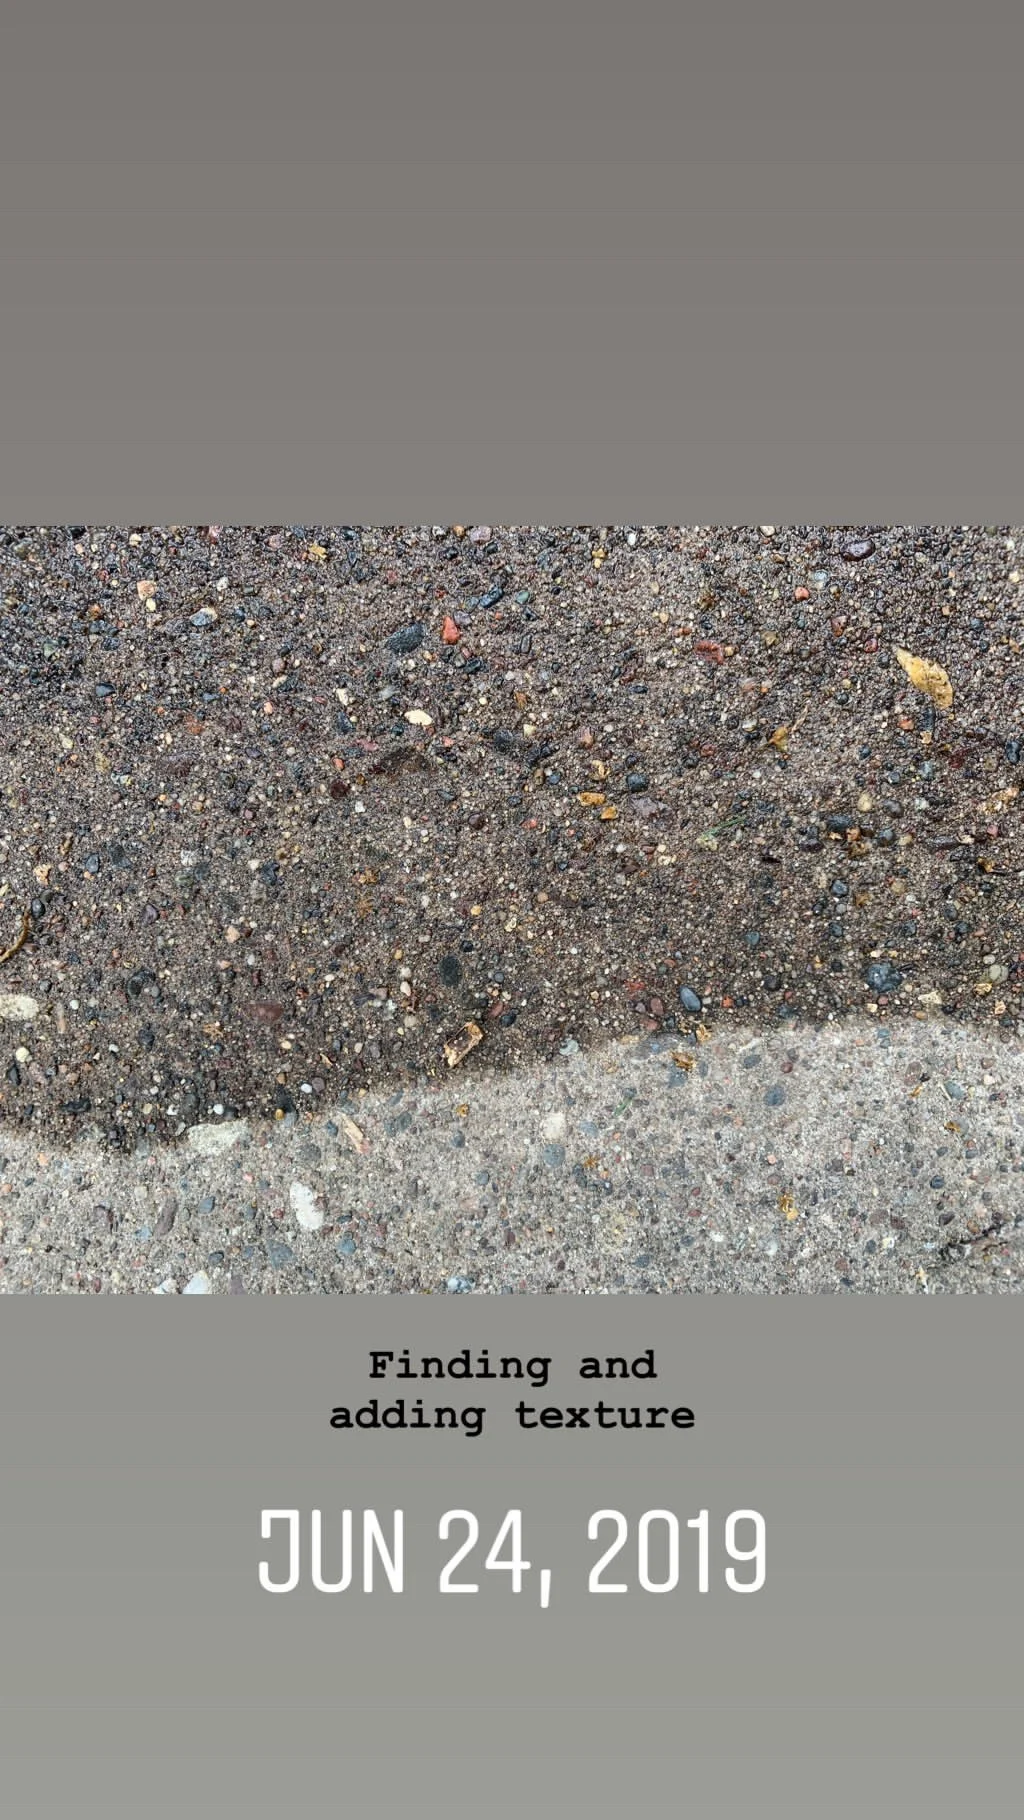
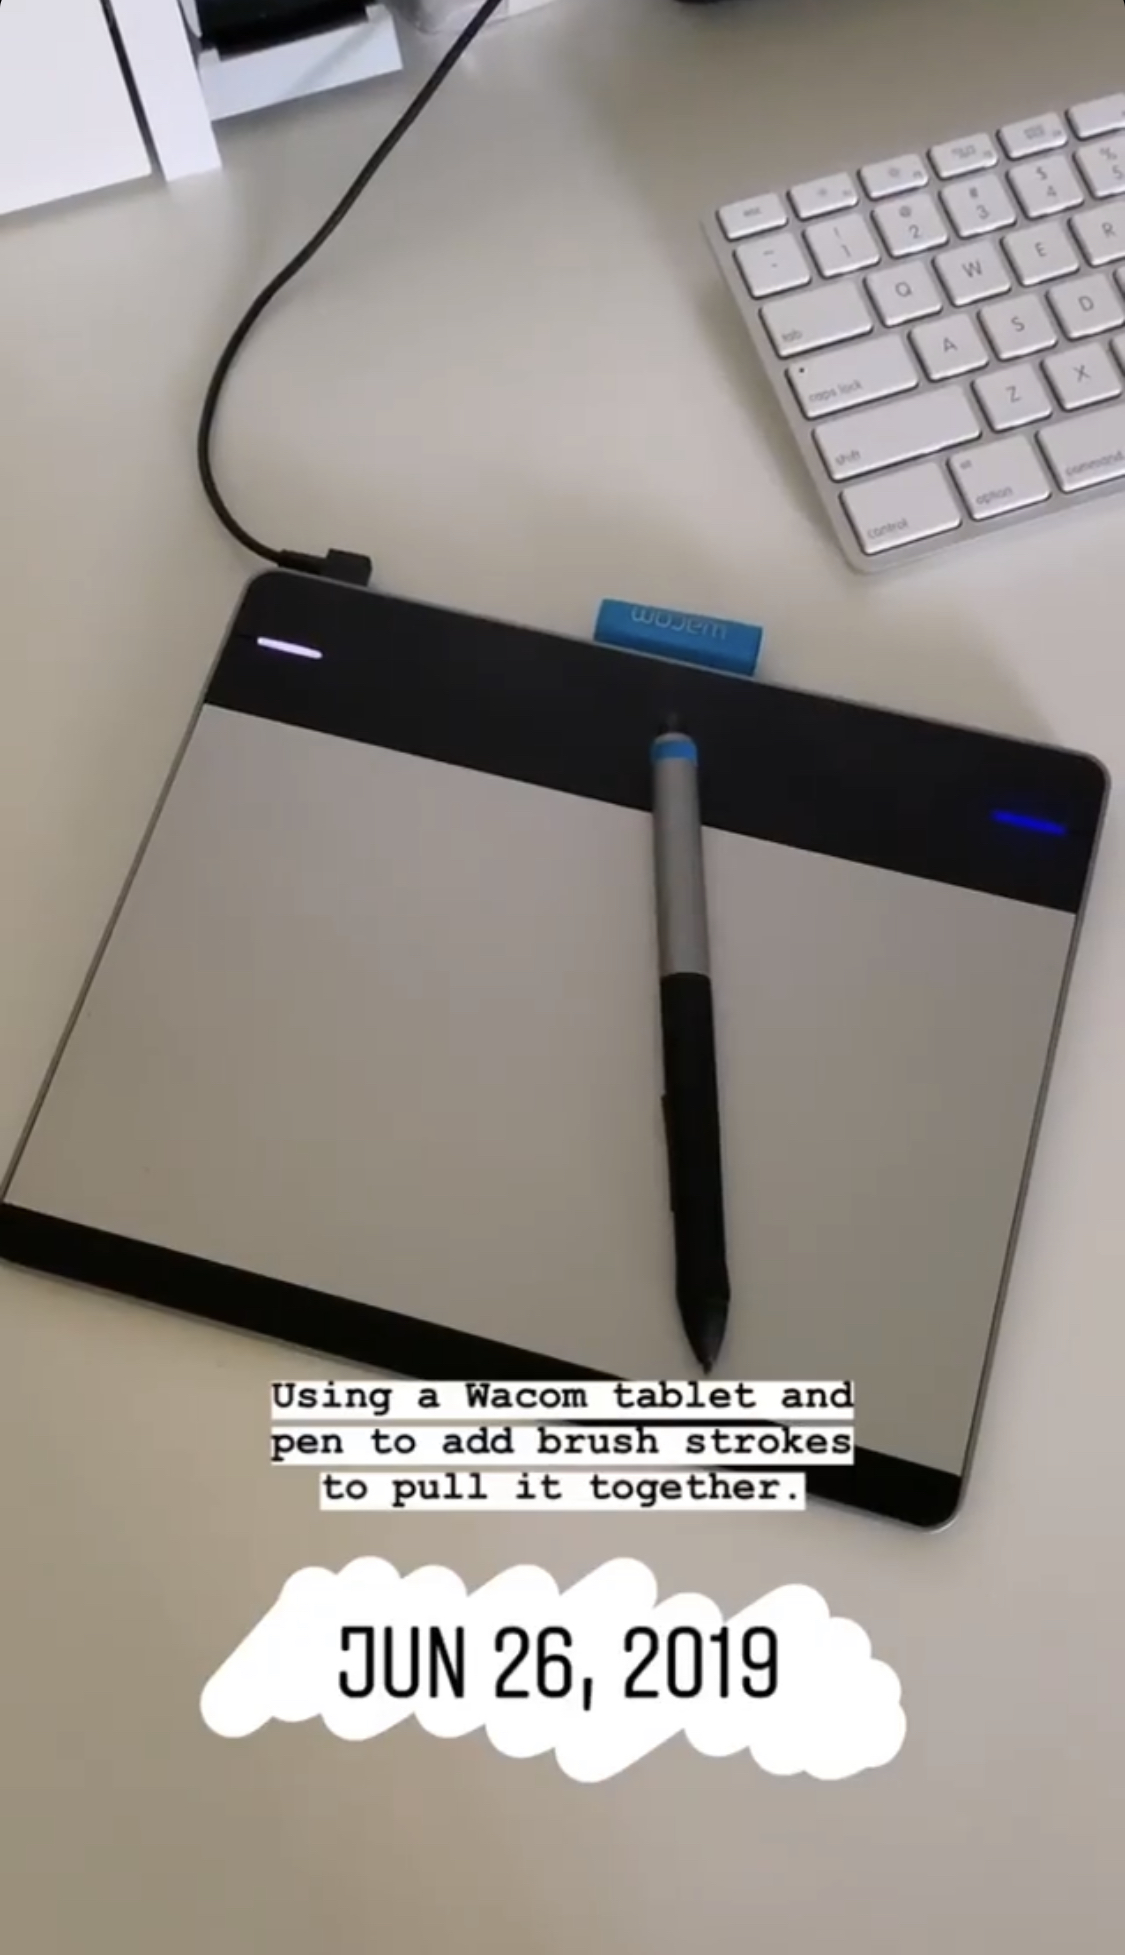
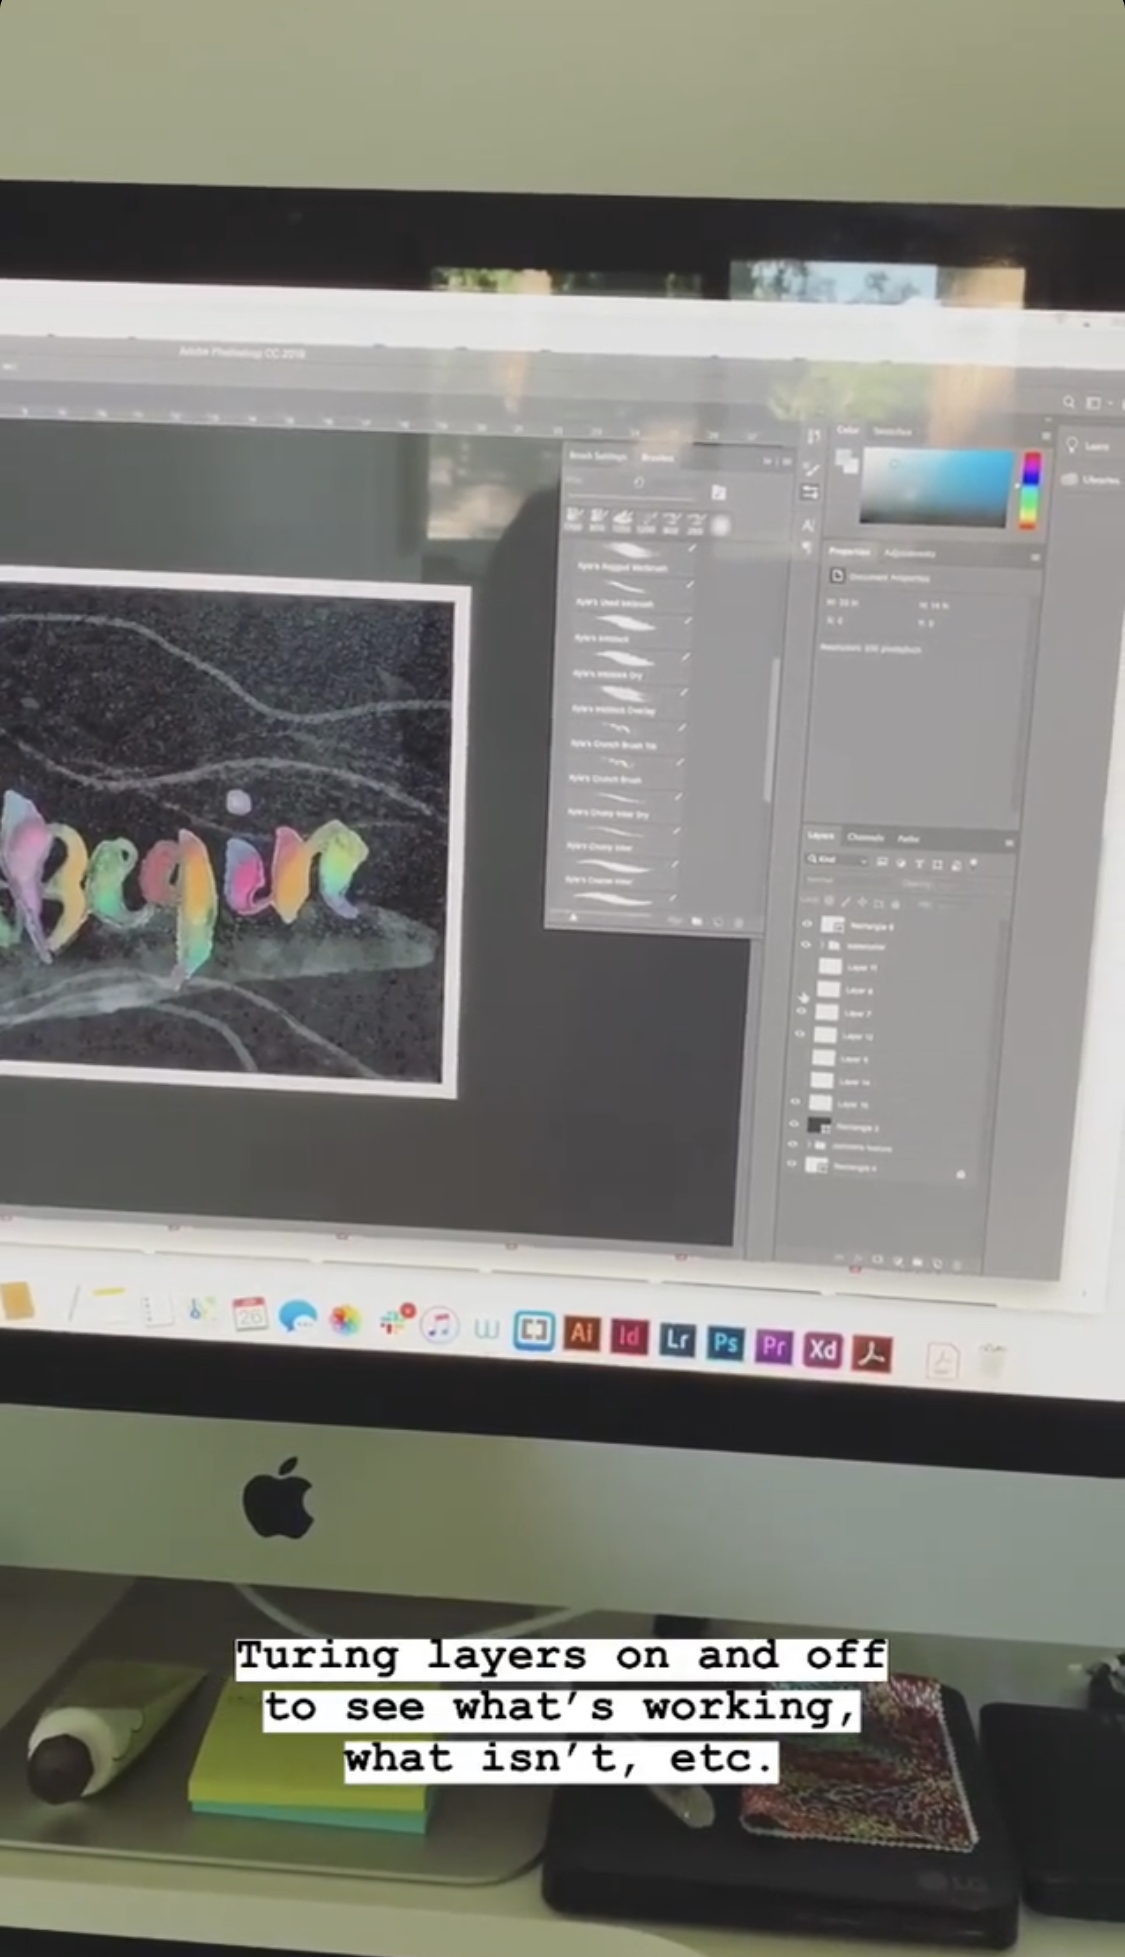
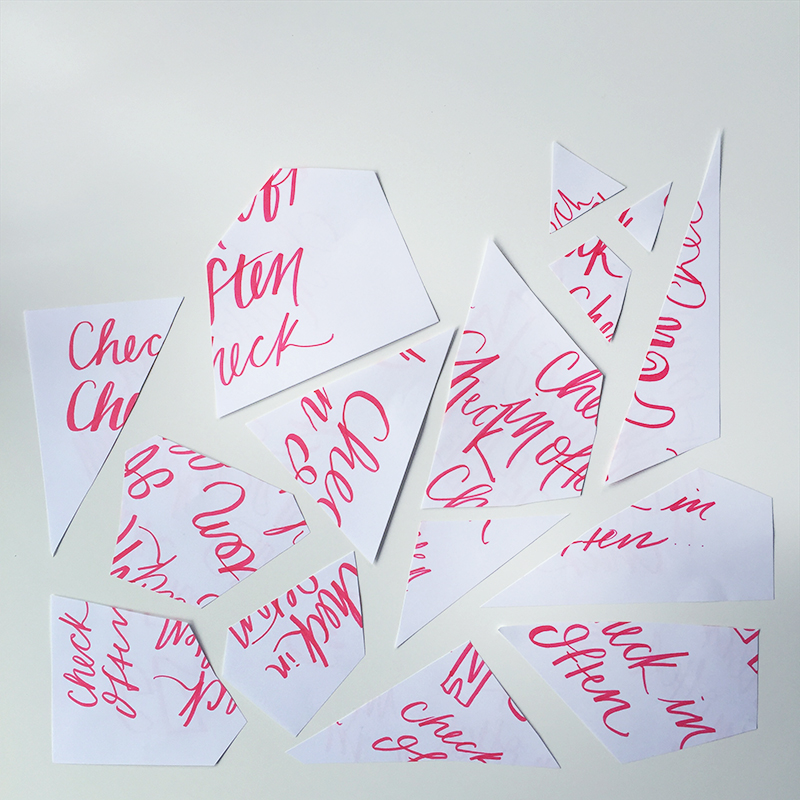
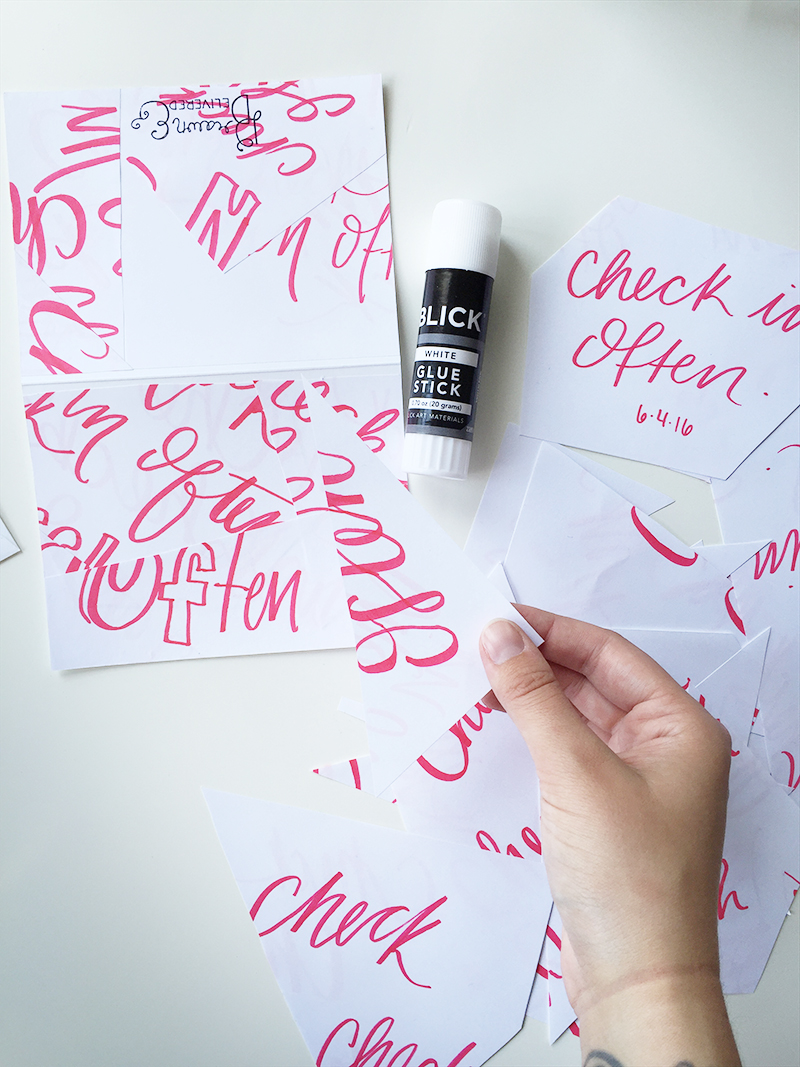
I documented my journey of creating this work, part scrapbook for memories and part deep dive into my process on how to execute a project like this.

I have my artist statement on this piece here if you would like to give it a read! It talks a little more about my thoughts around the theme and what it means to me and my work.

DESIGN IN MASS PRODUCTION

When I think about mass produced cards, I think one design, run through a fancy printer like a zillion times (very nicely, of course). But I ran into an opportunity a little while ago that lead me to think about mass production in a different way with my small scale Drawn & Delivered card project. This method even involves recycling so for this girl who uses (what feels like) a metric ton in paper it made me feel really good.

One morning, I spent an unusually looooong time working on my #dailyintention of the day to share on my Instagram and I wound up with 5 or 6 sheets of paper that I would have otherwise chucked into our recycling, but after becoming more interested in cut paper and mixing texture, it lead me to think about how I could use these sheets differently. I was also a llllllittle behind on my card schedule so all of this paper and started to look like an opportunity.

I sat down after randomly cutting up the pages and arranged them onto the cards. I liked how abstract everything was looking and the strange amounts of white space I was noticing too, so I opened up my glue stick and started to put the pieces together. Once I had everything glued down, I trimmed out the edges and voilá!

What makes this method work is the very simple color palette and some of the repeated shapes that you start to notice from my original pre-cut pages. It's almost as if there is a hidden system to the madness.

At the very end of creating these cards I thought they lacked a sense of grounding so that's why I added the black lines around some of the edges of the paper.

I would love to do some more work with small batch designs like this in the future.

If any of you have scraps from sketches hanging around, try doing this too! I think you'll like the results. It's also very quick and kind of like putting a puzzle together that has no image. So like freestyle puzzle building? Yeah… that sounds about right!


ps! If you would like some great free desktop and phone wallpapers illustrated by me, sign up for my email list! It's on the right side bar. I will only send you stuff like personal insights, stories and glimpses behind the scenes in my studio. No junk mail, just fun stuff :)

PENCIL CASE UNZIPPED

I'll admit it! I have a lot in my pencil case. But I swear, they all serve a purpose. And I want to share them because I think I found a really good balance of tools to have when I'm on the go.

Maybe this will help other wandering artists too?

I really only ever need 2 pencils; one pencil with hard led, one with soft led.

The hard led pencil (2H) has been my go-to for almost everything. This is because I usually draw with pencil before I ink my work or I will erase my lines all together and having lighter lines helps with this a lot.

Then there are the cases when I want a heavier darker pencil line, which is why I like woodless graphite pencils. SOOO much more led real-estate! This one is a 2B.

My Pentel Clic Eraser is the only way to erase. It's clean, precise and feels easy and natural to use. I've been a fan of this guy since middle school.

I only ever need this guy. It writes like a frickin' dream!

I like to have three liner pens on hand, each with different size (thickness) of nib. This can help with creating depth easily in a drawing.

My Micron black pen is my most used liner pen. It doesn't bleed at all, drys very fast and the line is consistant. Bonus points: it's soooo inexpensive!

My Copic Multiliner, which has a little bit thicker of a nib (0.3), is also a very solid pen. It gets points for having sexy packaging. It feels nice in the hand and makes for a great line. The only thing is that you are paying a little more because of the packaging, and the brand name, to be honest.

The Faber-Castell PITT pen I have has a thicker nib, I'd estimate at a 0.7 but they don't number the nibs like other companies do so that's just a guess. Any who, this one is good too. I believe it sits in the middle of the road between the Micron and Copic, price wise. 

Duo markers are pretty excellent because they have a bullet point AND a brush point. It's like a one stop shop! The are a bit long in body, but whatever!

The Pentel duo brush marker is my favorite. I have spoken about this pen before (both pens actually!) and since then, I have just been more in love with the Pentel brush. It's expensive (in the pen world) but I can't imagine my pencil case without it. To be honest, if I could only have five items with me, this would be one of them. 

The Tombow duo brush marker is great, but be warned! Please only use it on ultra smooth paper, like that from Rhodia. If you use this pen on sketch paper, drawing paper or any other paper with more texture, the fibers of the paper will eat away at the tip of the marker pen causing it to fray. It took me a lot of pens to learn that lesson. Luckily, they only cost $2.50.

Brush markers are so fun, satisfying and frustrating to use. Frustrating, because they take a lot of practice and each marker takes time to adjust to. Satisfying because when you get in the groove it's amazing and fun because, markers (!!!!!!) They come in all nib sizes and I like to keep a variety with me. With all of these markers, use ultra smooth paper, like bristol or anything that Rhodia makes, this is because more textured papers ruin the tip of the markers over time. These markers can last a long time if you use the right paper.

Pigma Sakura Bold and Medium brush markers are really great. I got them as part of a set, pretty inexpensively too. The bold is even larger than the Tombow, which I didn't know was possible. The medium is about the same size as the Tombow but the stance of pen is smaller so I think it's easier to use.

The Faber-Castell brush is a nice smaller size and still is veeeeery flexible.

The Pentel brush sign pen is excellent for small work. I tend to draw and letter on the small side so this has been very useful. It writes very well, but it also requires a light hand, which has been an adjustment from pressing more forcefully with other markers on my down stroke. Also, the packaging is sparkly, which I loooove.

GROUP SHOT!!!!

Everything fits very well in my case, with room to spare. I like it because it's a little bit of everything and having this collection with me makes me feel prepared for whatever I want to work on.

Do you have any go-to pencil case essentials? I keep thinking about getting a drafting pencil, but I don't know if I really need one…

Do you have a favorite pencil case? Mine is a very un-sexy case I got as part of an 'artist starter set' when I was in college just before my intro art classes. I suppose it has good memories attached to it, but yeah, if you have any suggestions for a formidable replacement, let me know! I'm casually looking :)

Thanks for reading and I hope you have a rockin' day!

NO AGENDA 1

Sooooo I just want to share more random-ass shiz here.

That probably sounds bad.

But it's not. It's good!

At least I think it will be.

So, byyyyye to only polished work a self inflicted censorship!

Here's to making bad art, strange choices, or going in interesting artistic and design directions and showing all of it anyway.

Life's too short and art making rocks!

Using big chunks of butcher paper, India Ink, paint brushes and listening to The Beatles.

It's a love that lasts forever
It's a love that had no past

HAD TO!!!! Illustration with found objects is my favorite sub-genre of illustration right now.

Here's an example.

DESKTOP POSITIVE

Hello! I hope all is well and the new year is proving to be a happy one. I just wanted to pop by and let you know that I made some digital desktop images for fellow blogger and designer, Ashley Lauren! Her blog is amazing, and if you dig what I write about here then you'll love her too :) 

I had so much fun using some of the work from my Society6 shop and bringing them to life in a different way! I even added a brand new design from a card I recently made. The theme that threads all of these pieces together is confidence, self love and living a life that is true to you.

Visit her blog to see all of the designs and feel free to download and use them.